Corbin-Spain Civil Ceremony

I had the good fortune earlier last month to photograph these two and their family during and after their civil ceremony. Check out these highlights of a handful of my favorites! After learning my clients love more dramatic imagery toward later editing of the set, I began incorporating HDR styles with greater detail and color to make them pop. I've enjoyed the style so much that I plan to continue the aesthetic in my future portraiture work! Do you prefer more soft images, or more dramatic images with clarity and oomph?

Focus & Exposure in Smartphone Cameras

November 15, 2018 Let's talk about focusing and exposing in cell phone cameras. This is a simple topic but I see a lot of people misusing or misunderstanding the method; although most everything is automated in our phones, there is a little bit we can do to better guide our cameras and their softwares here. I'm going to cover a few things in this area. Generally, I post images from the professional camera, but over the past couple weeks I was on vacation and was wary of the possibility of losing mine somehow, so I reluctantly opted to use my camera built-in to the Pixel 2 cell phone, which I feel renders quality images in an efficient package. What I cover today will not be specific to Pixel 2's; generally speaking, all new smart phones seem to have these settings. I have used both Android and iPhone devices, and, in terms of focus and exposing, they are pretty much the same. Be sure to clean off your lenses with a microfiber cloth prior to shooting for less glare and smudging.

  1. So first, let's take a look at some screen shots.


You see the little circle in each of the above images? That is what focuses on various objects within your screen. It also exposes your image for the object in focus. So in the first example, I'm focusing on one of the brightest subjects in the image--the lights. This brings the lights themselves into focus; however, it does darken the rest of the subject around it. This can be fixed in the built-in editing feature later, but that's a topic for another day. When, in the second image, the circle is focused on the more grey area within the mirror, you can see that you'll get a bit more bright over all image, although there's a little less detail within the lighting. Similarly, when the focus is up high in the shadowed ceiling, you get an even more bright image with many of the highlights far more overblown. This can create a nice effect sometimes, but as a general I try to avoid overblown highlights since detail cannot be recovered in them. Wherever you want to focus within an image, tap that subject.

2. Ok next, some basics for your selfies and portraits:

The first rule here is that you want to go ahead and make sure light is falling onto your subject. This means that you'll want to face a lit window or a light if indoors, or if outdoors at night. If you're outdoors in the daytime, you should be fine, just beware of harsh shadows if it's midday on a sunny day--get up under a tree and photograph from a shadow's edge.

For example, take a look at these selfies.


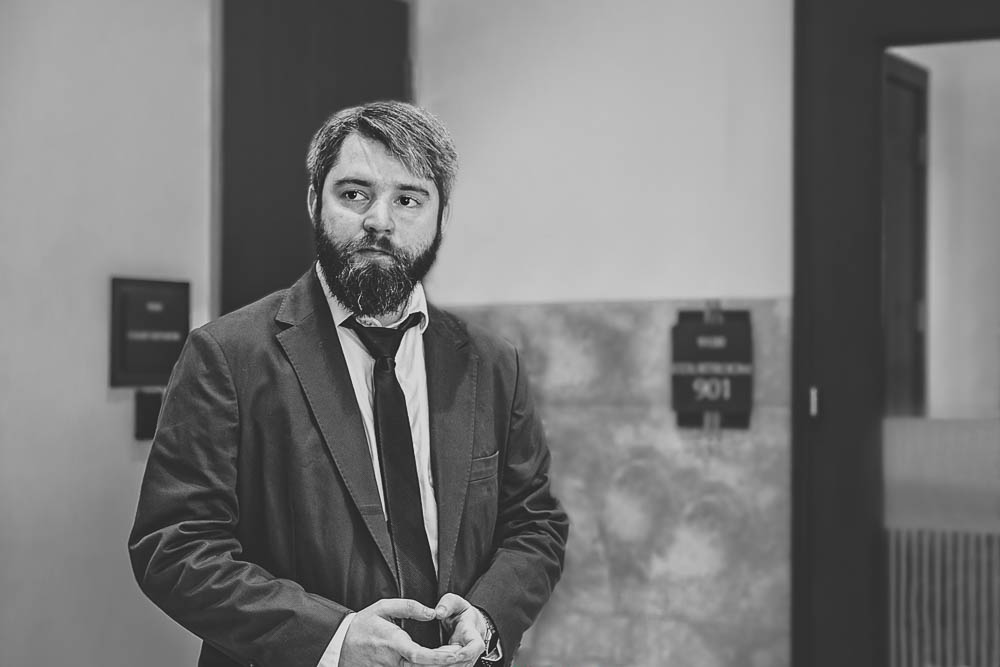
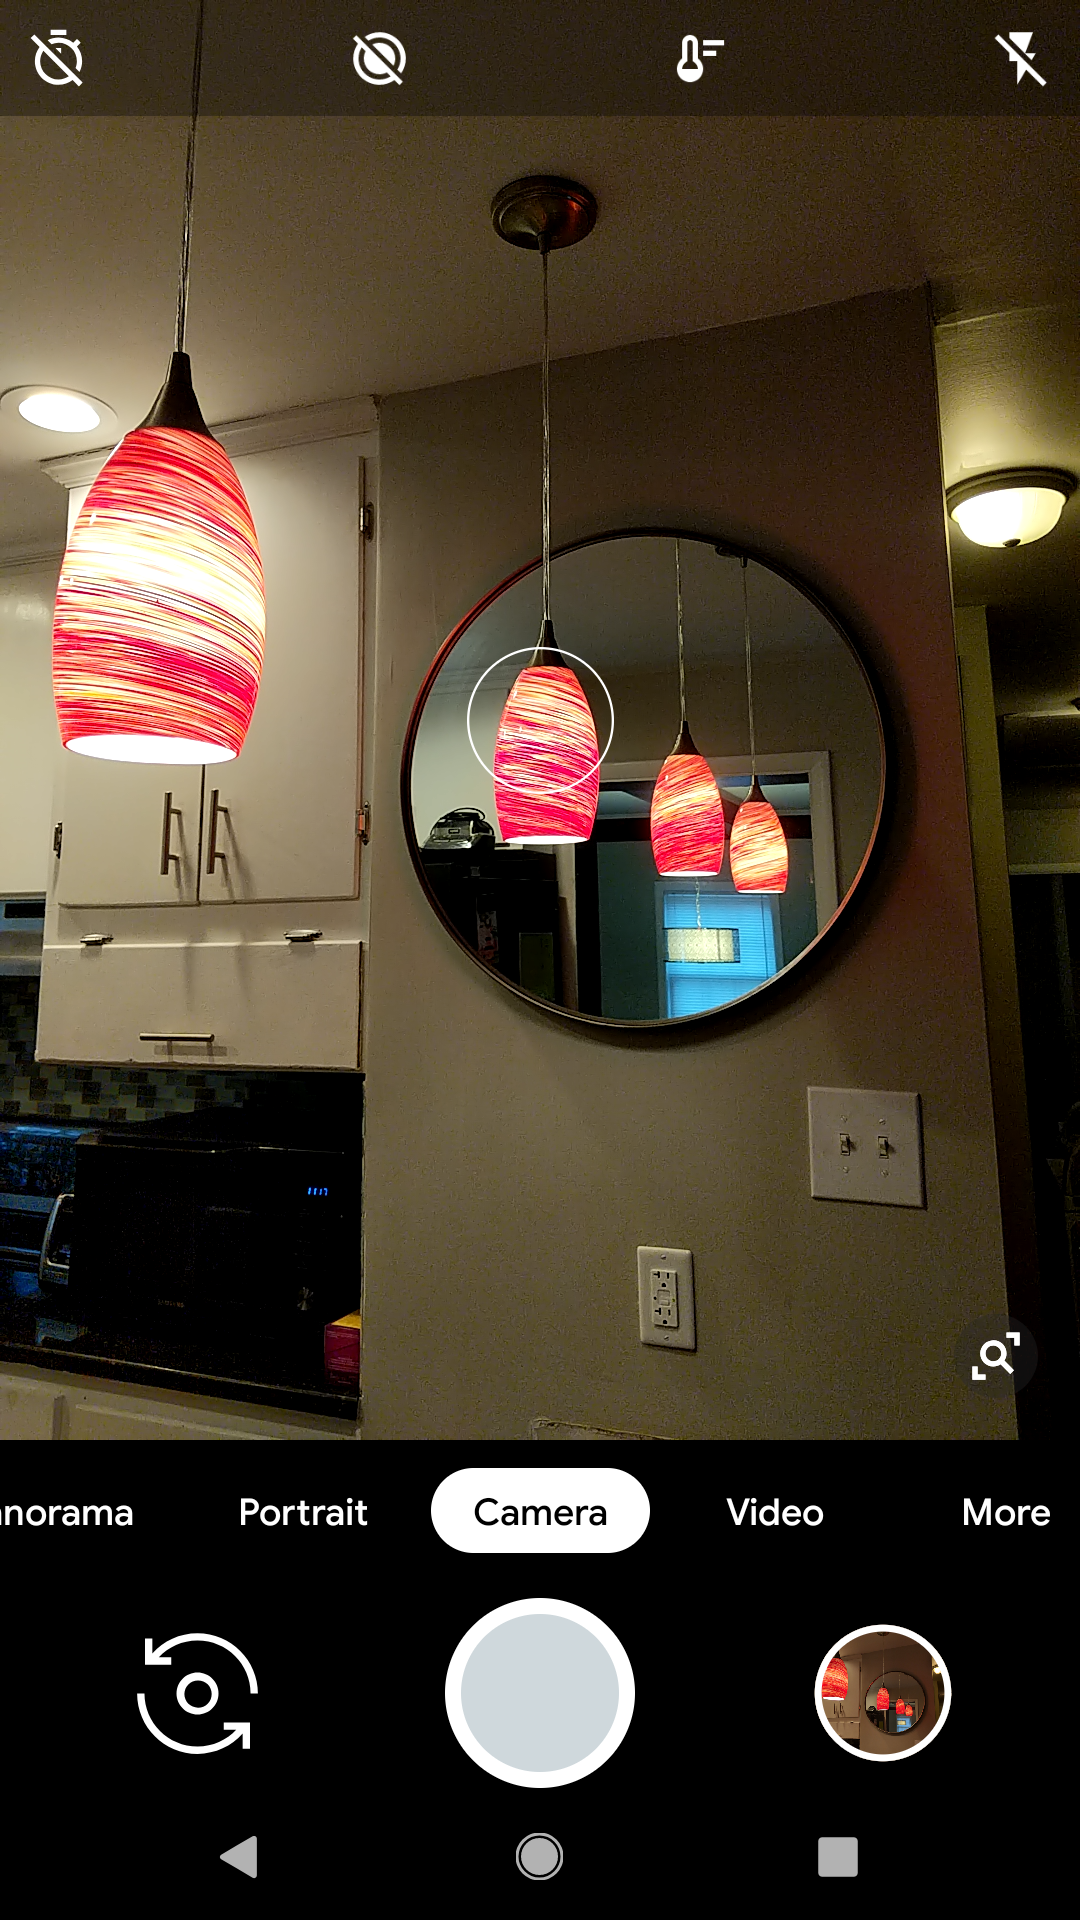
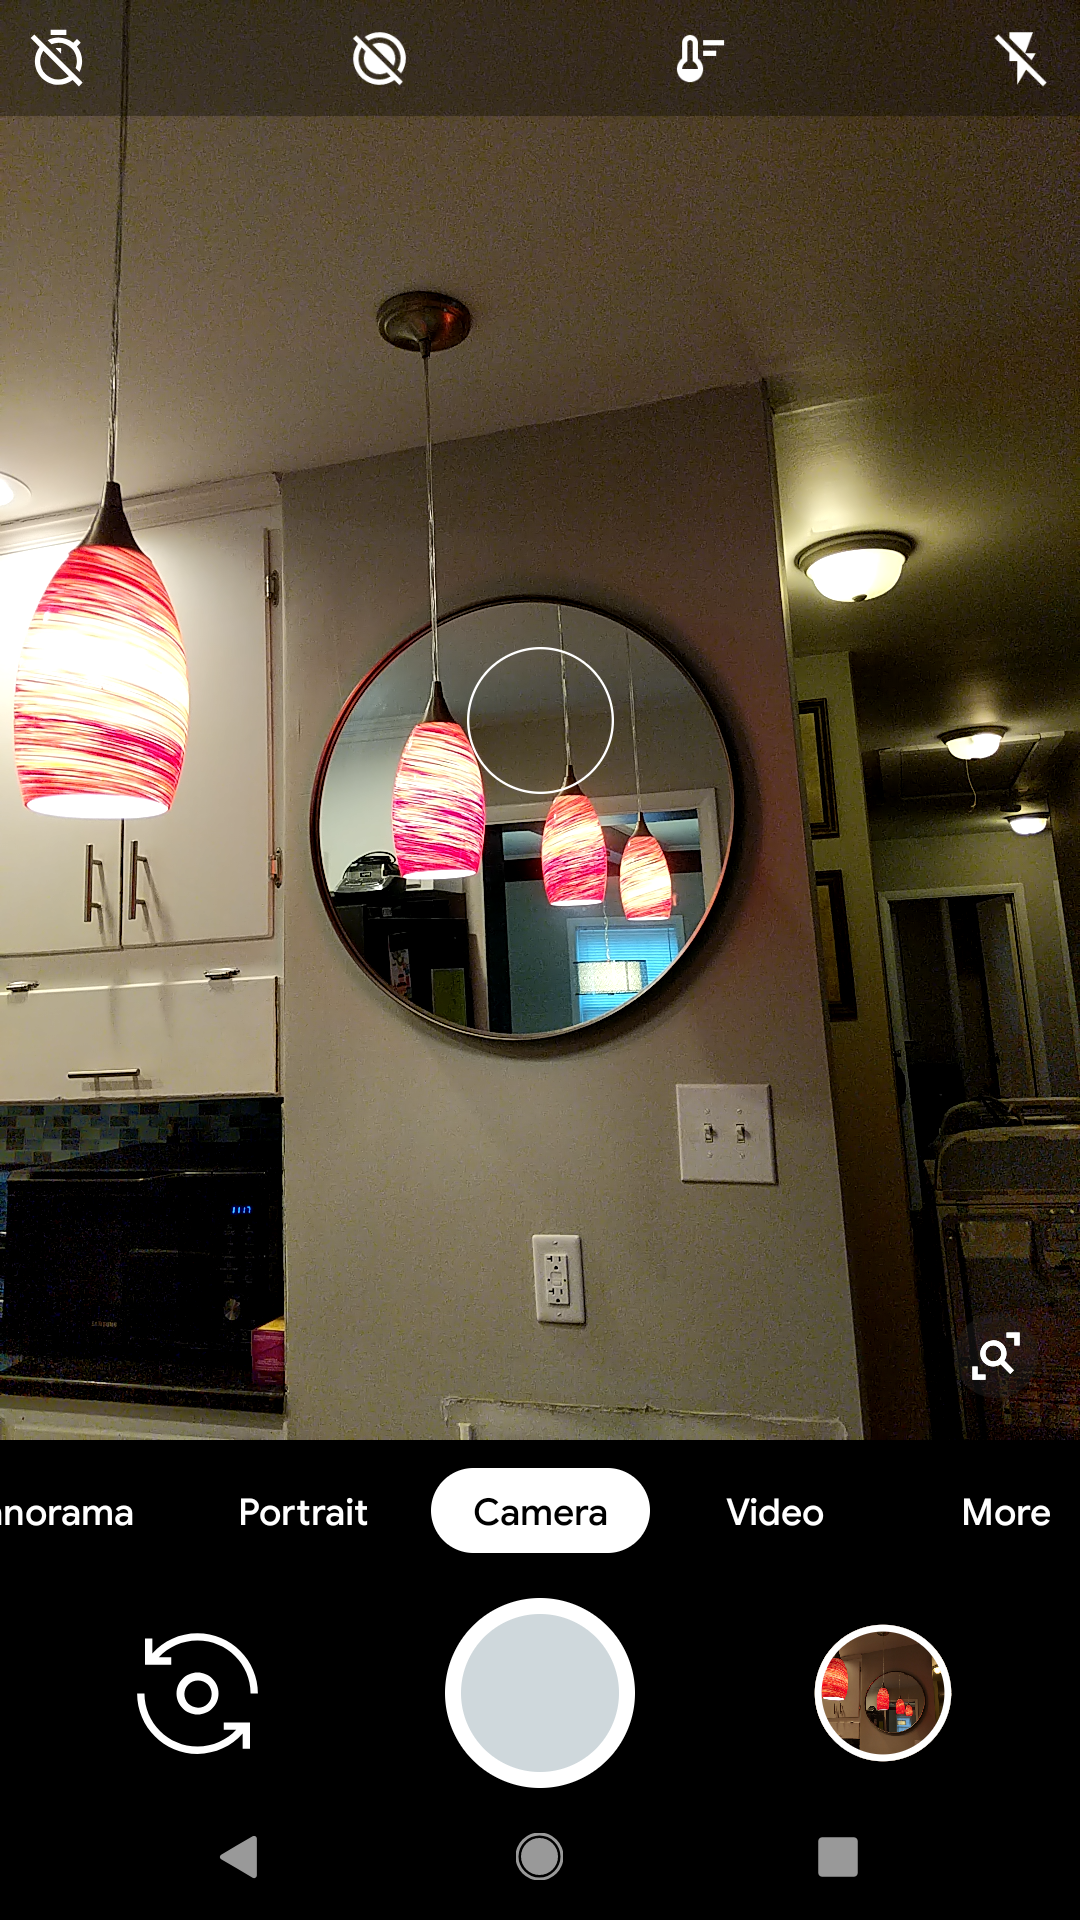
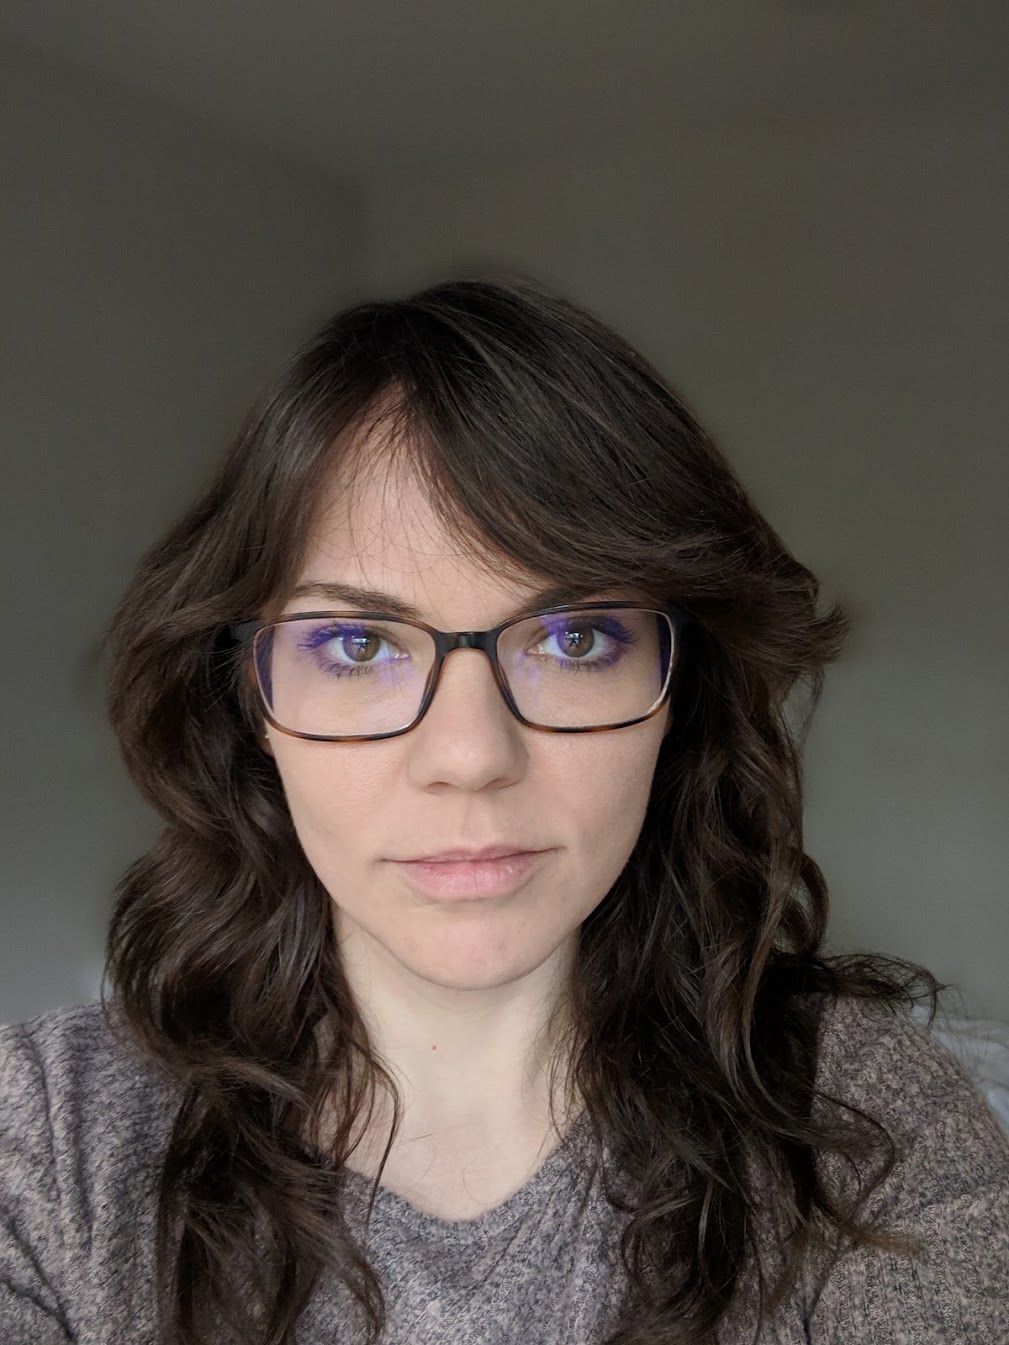
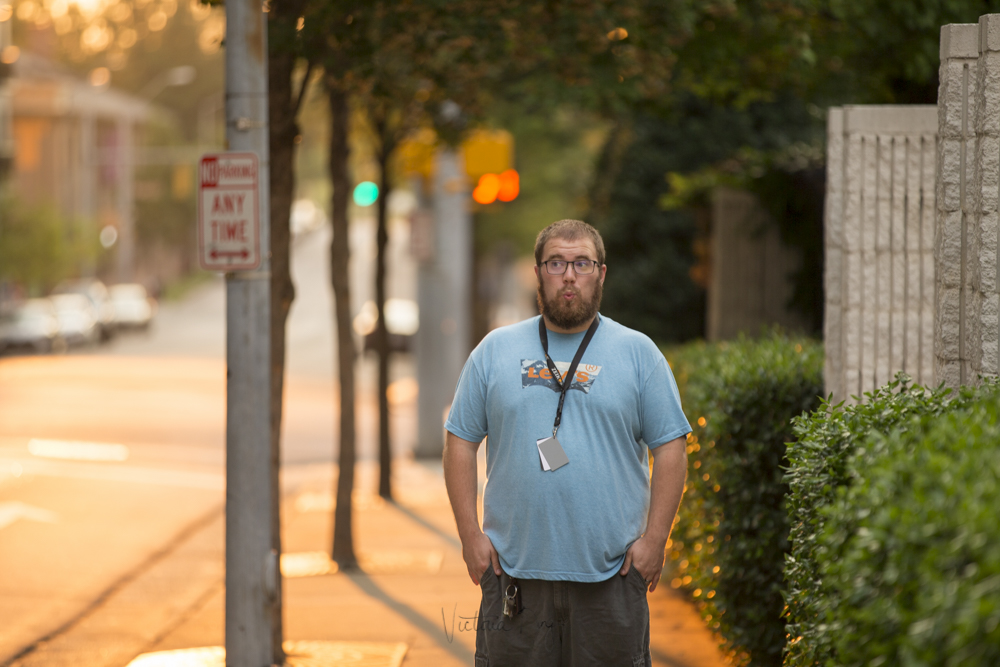
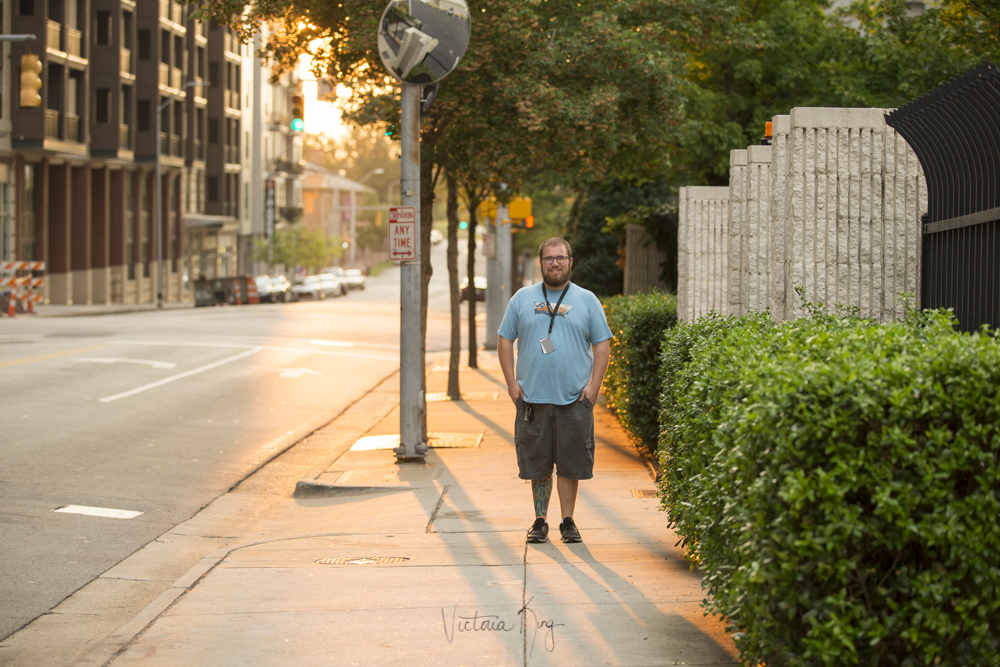
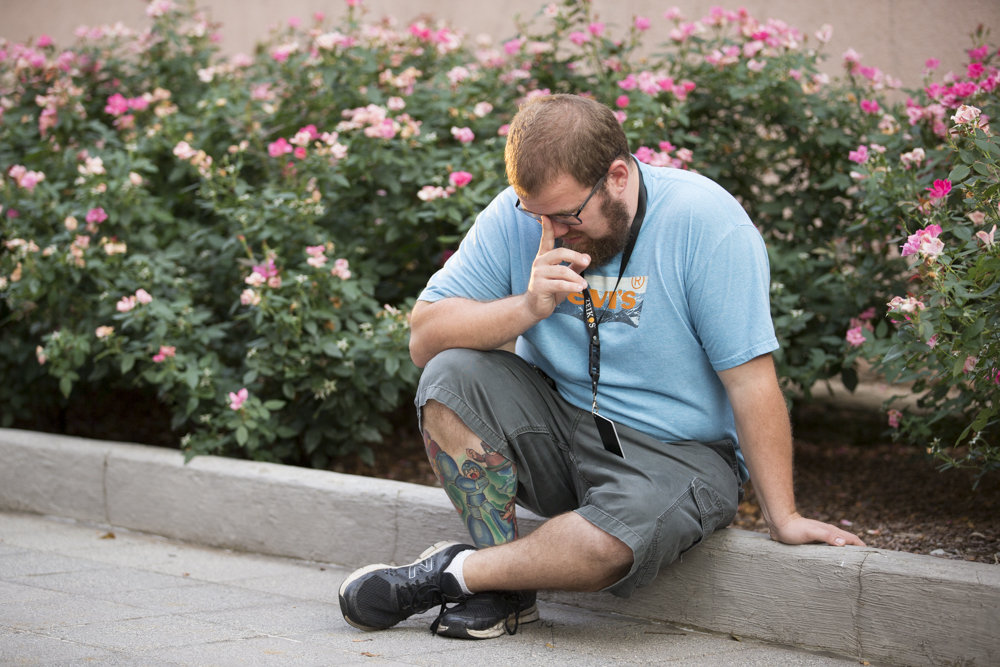
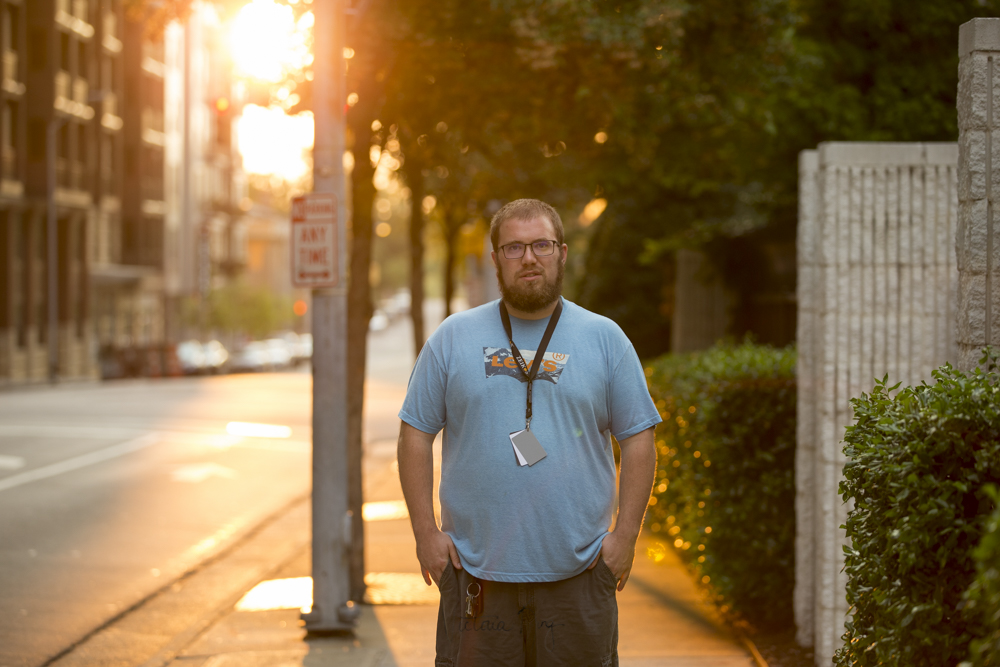
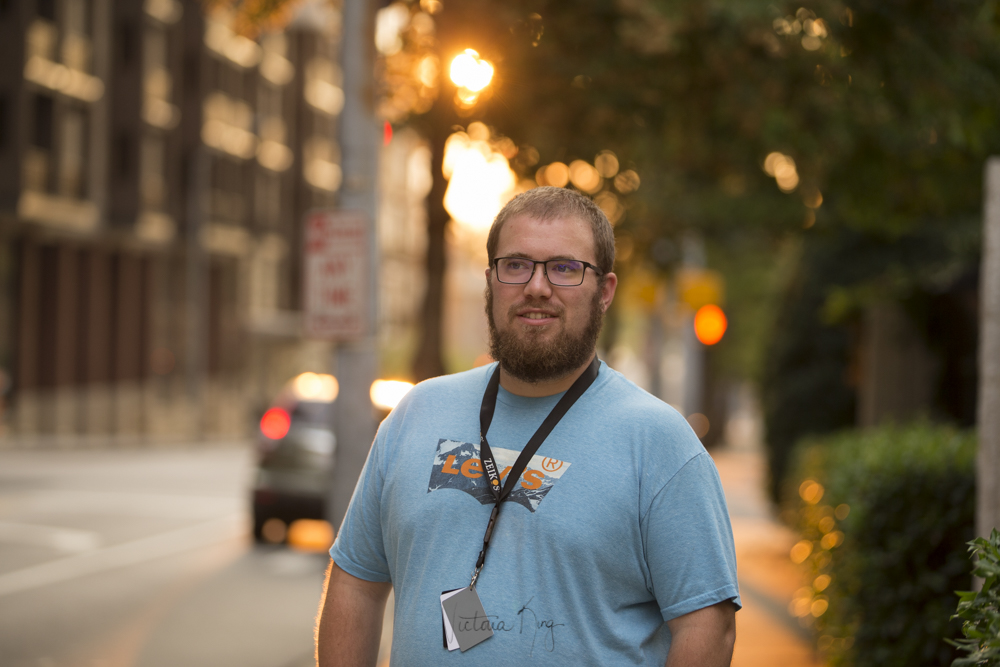
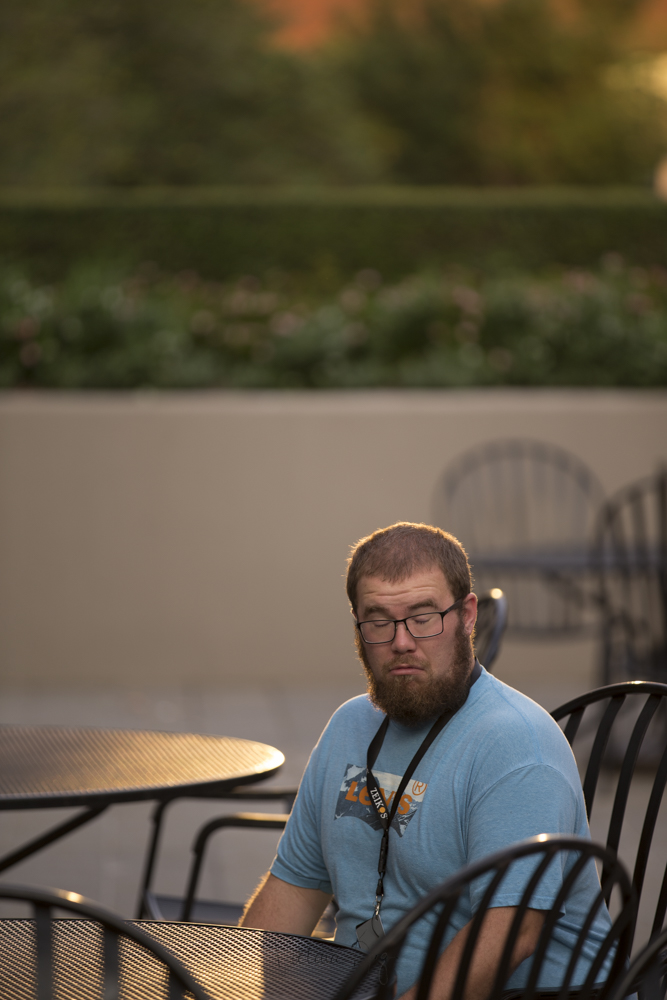
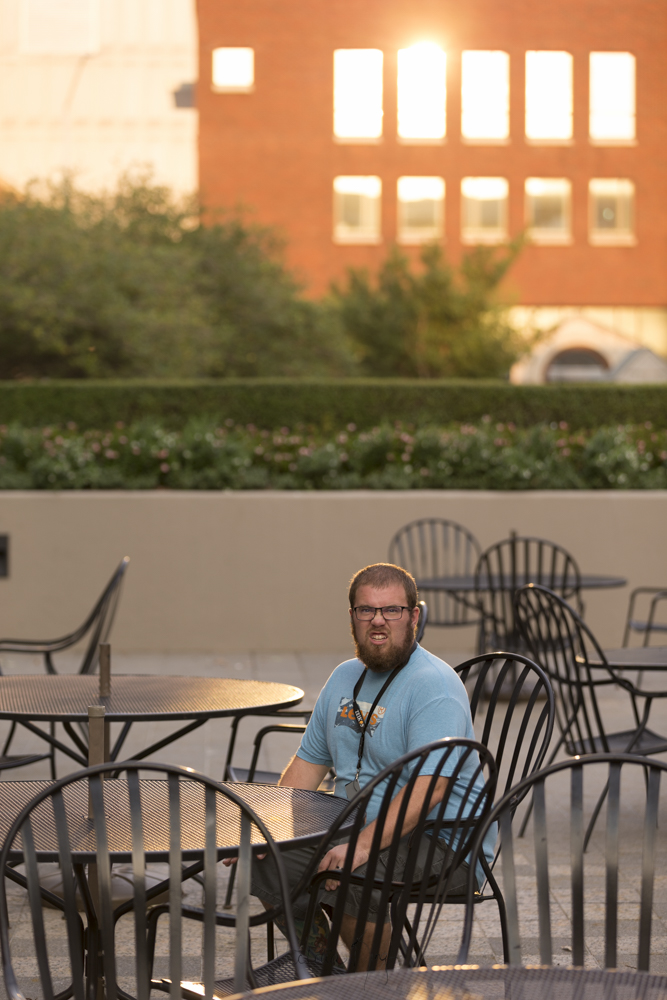
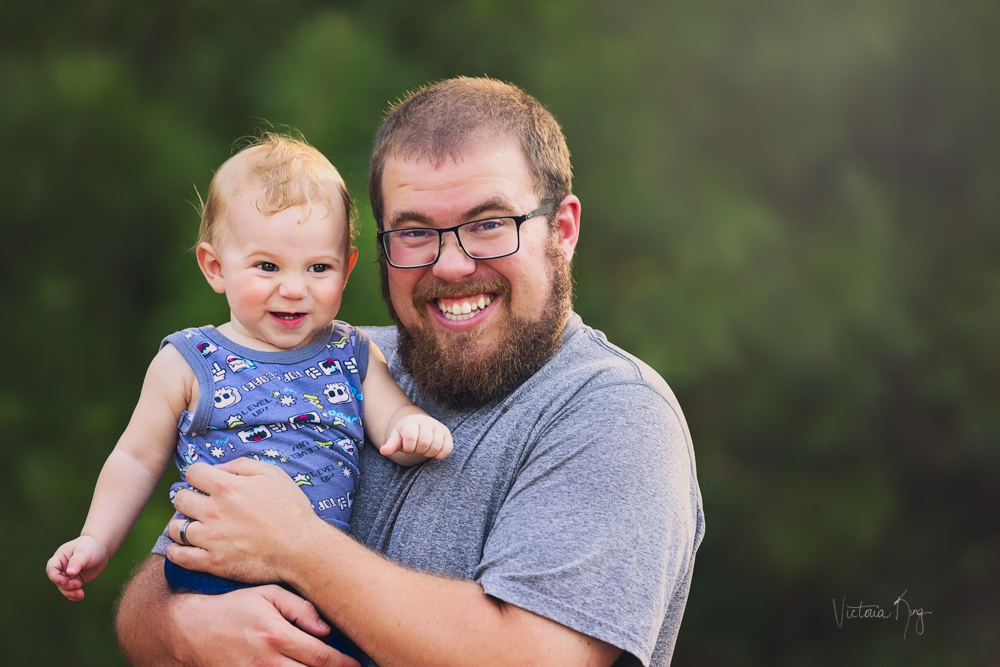
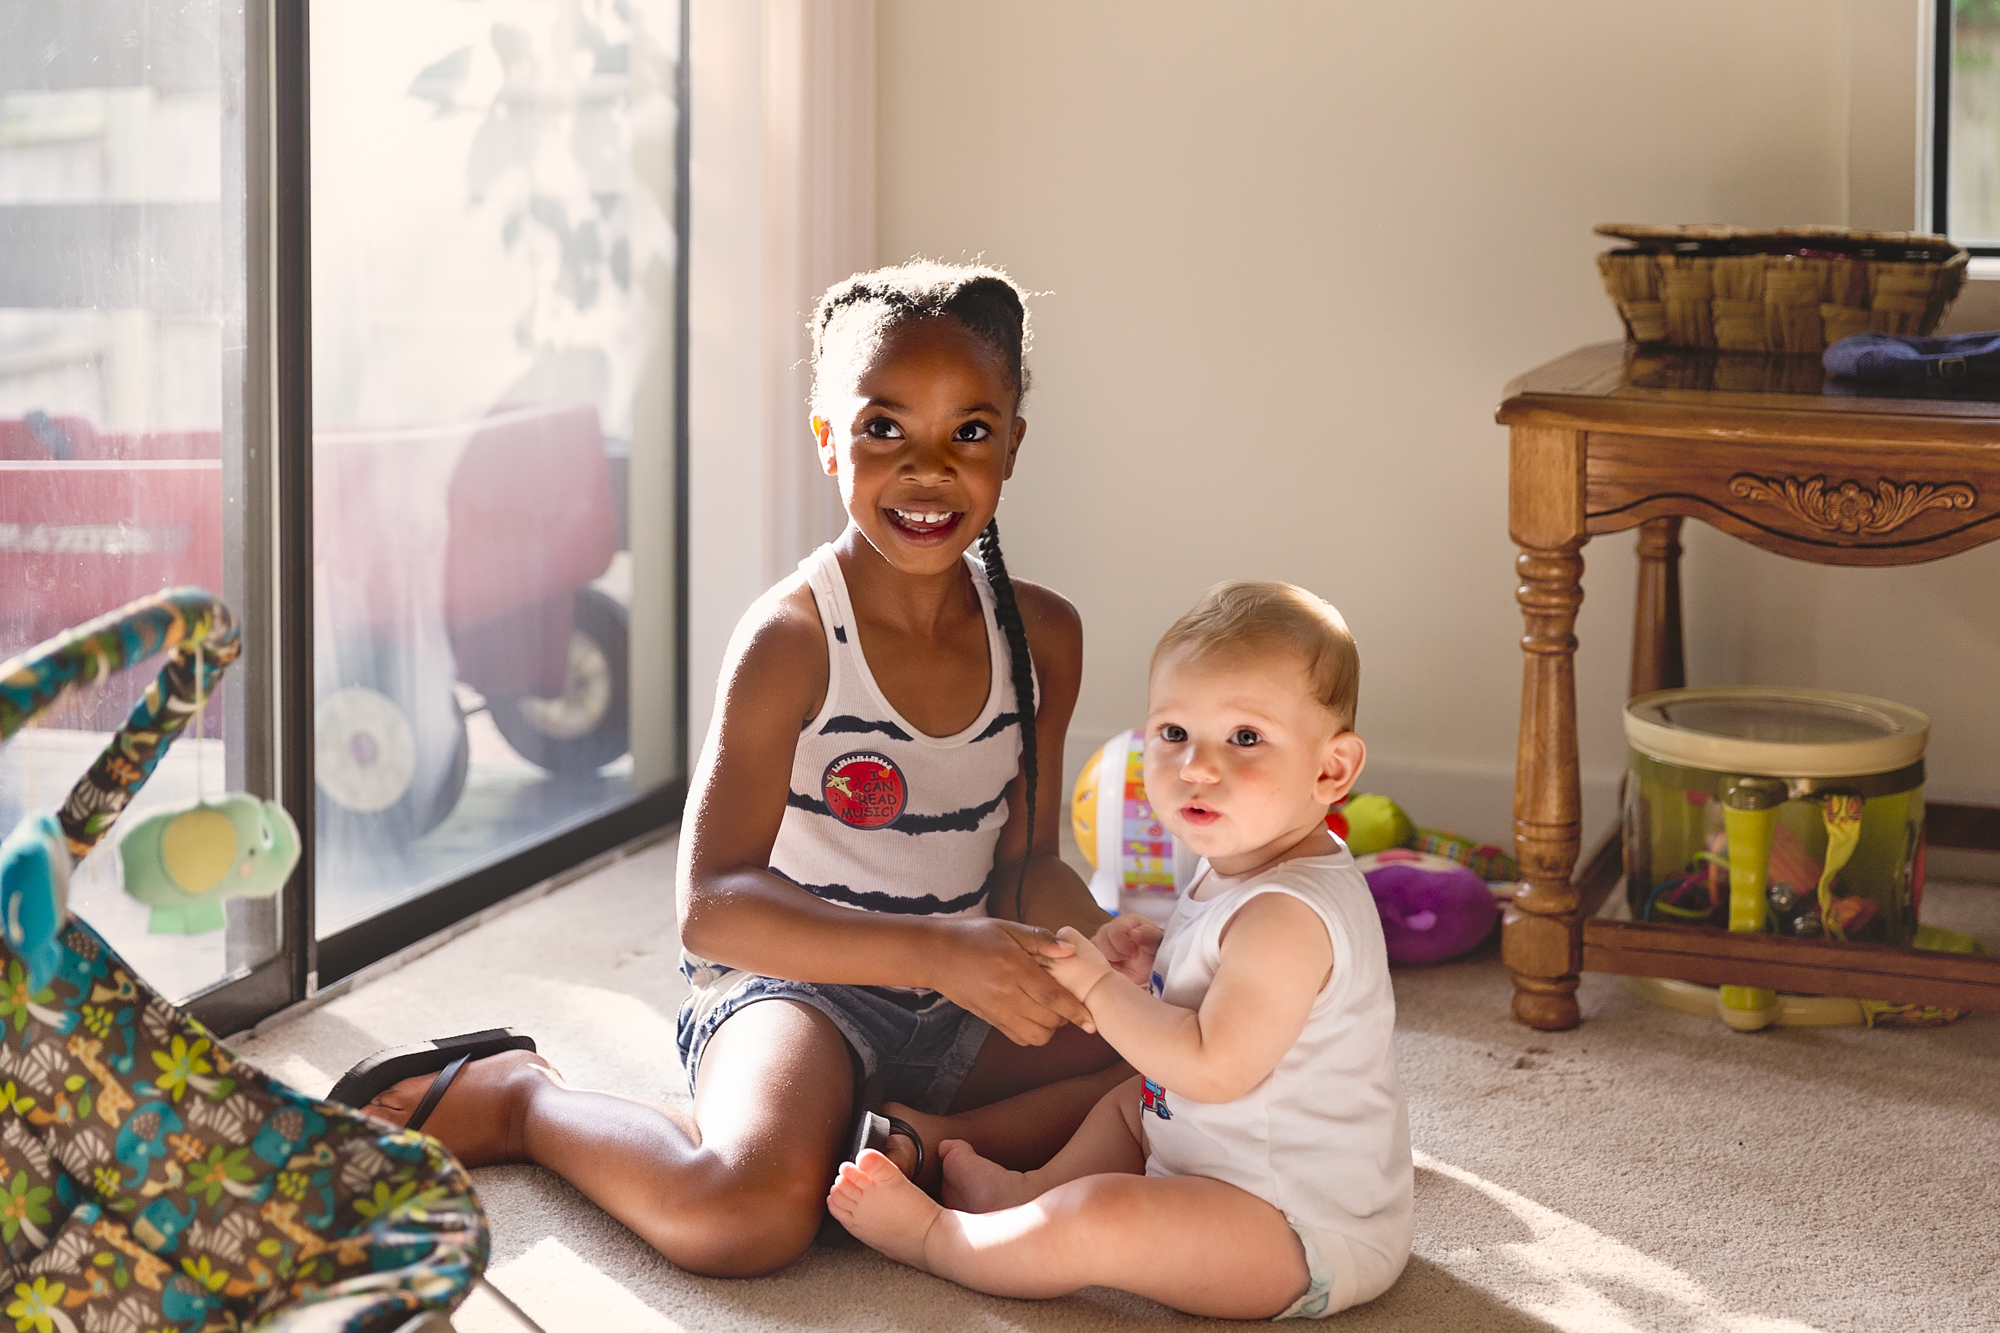
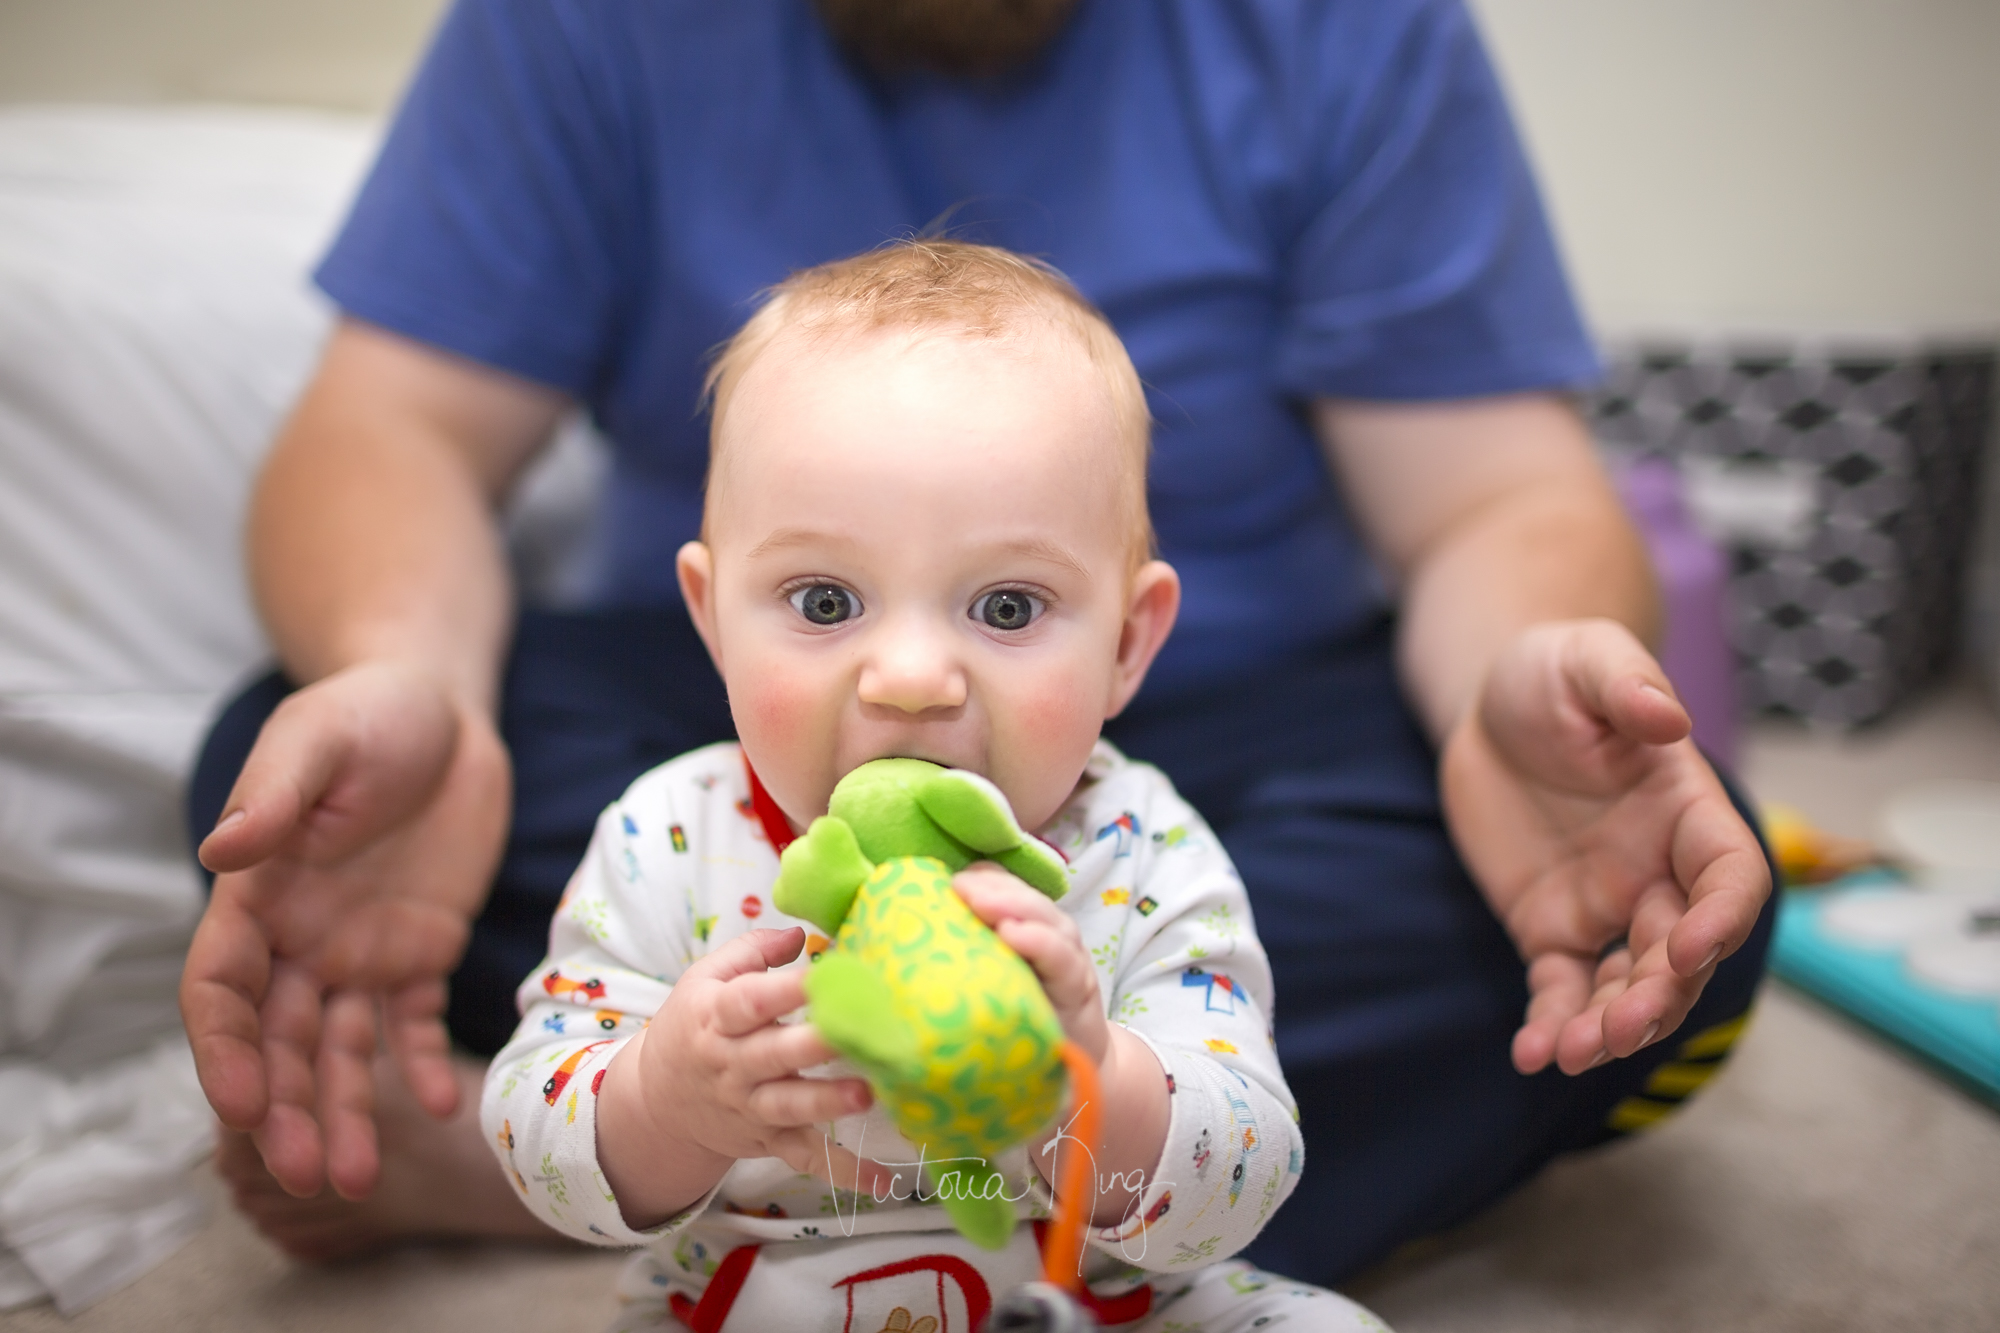
These three were taken within the same unlit room. Granted, the natural lighting in this room is pretty good. There are three large windows along the outdoor wall. In the first two, my portrait has been backlit, with my back to the brightest lighting source rather than my face, which is our subject in this case. You can see here that, when focused on the nose, or the subject, the camera automatically exposes for what you're shooting, and the highlights in the background spill around your subject. In the second image, when focused on the lighting source, you can see that less detail is available on your subject and that I am darker. The extra ISO or exposure work that the camera has to perform causes it to render a more noisy image in terms of quality as well.

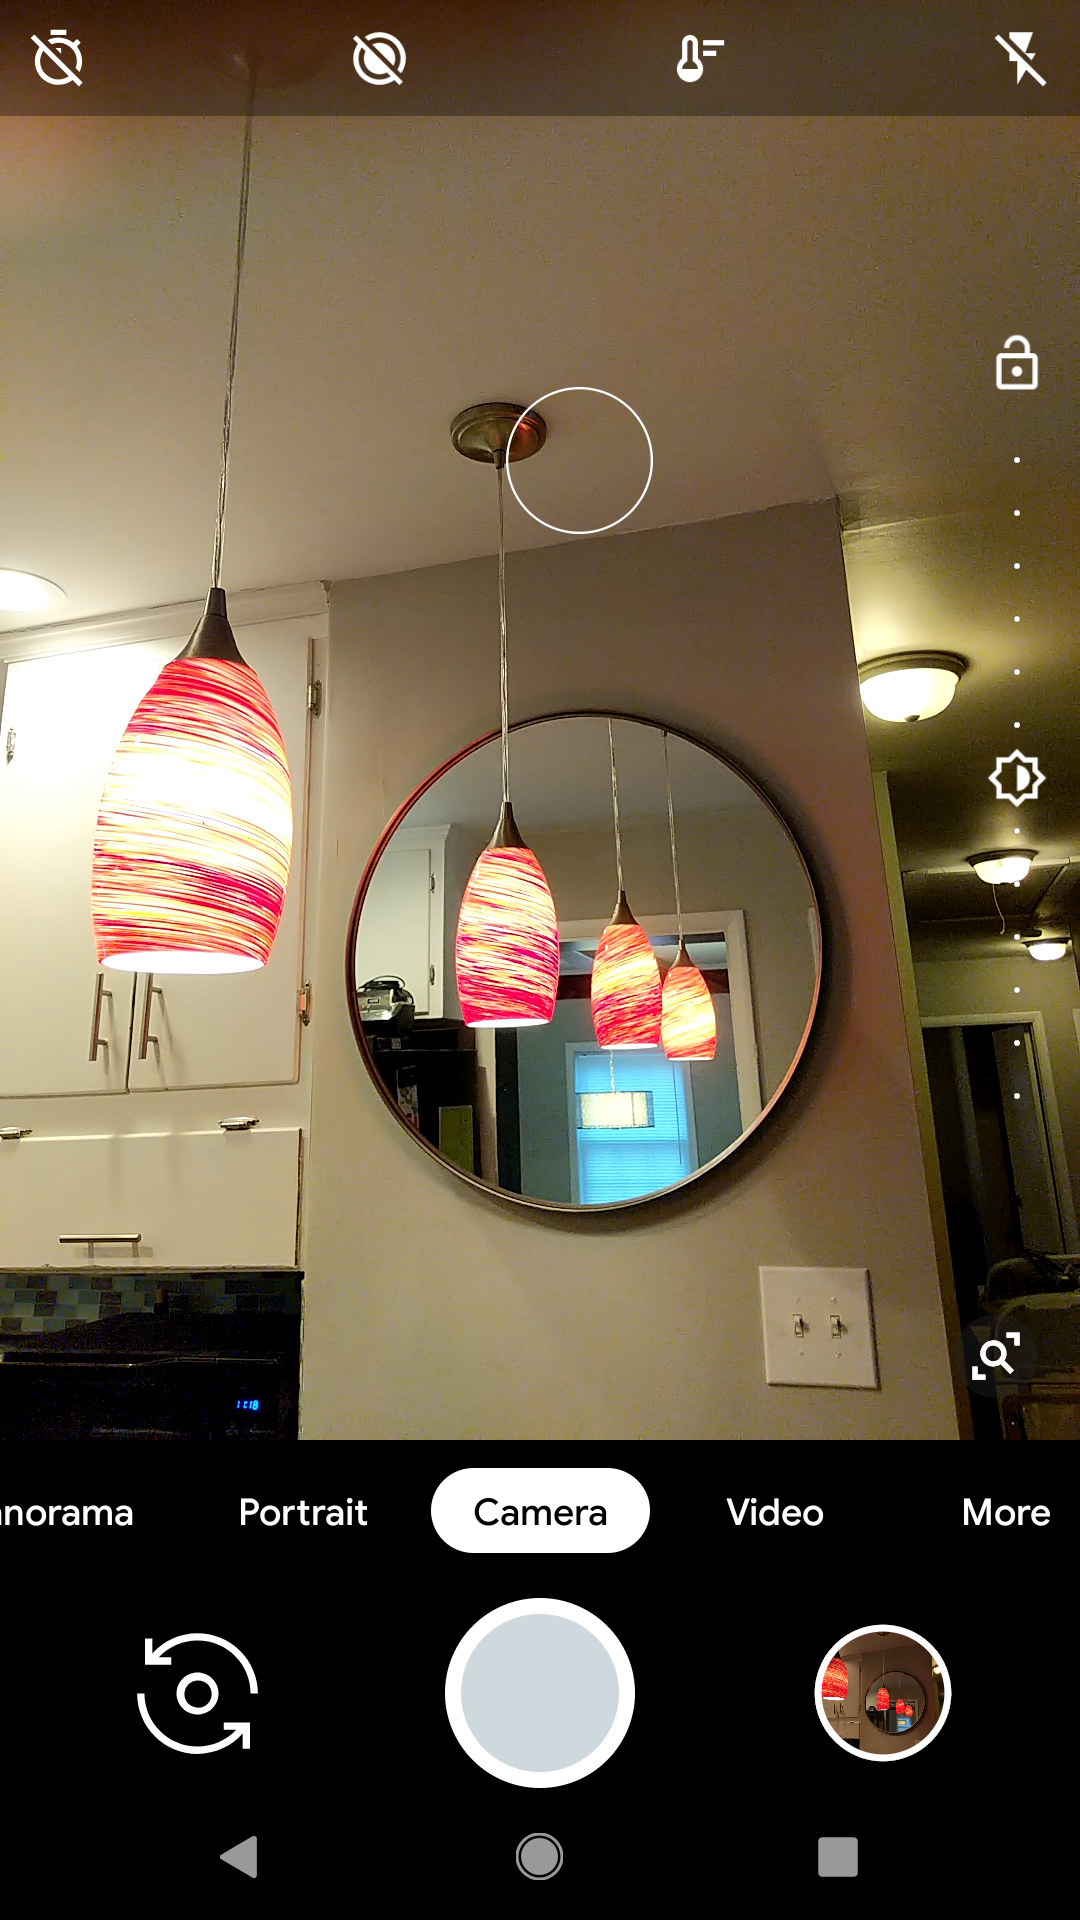
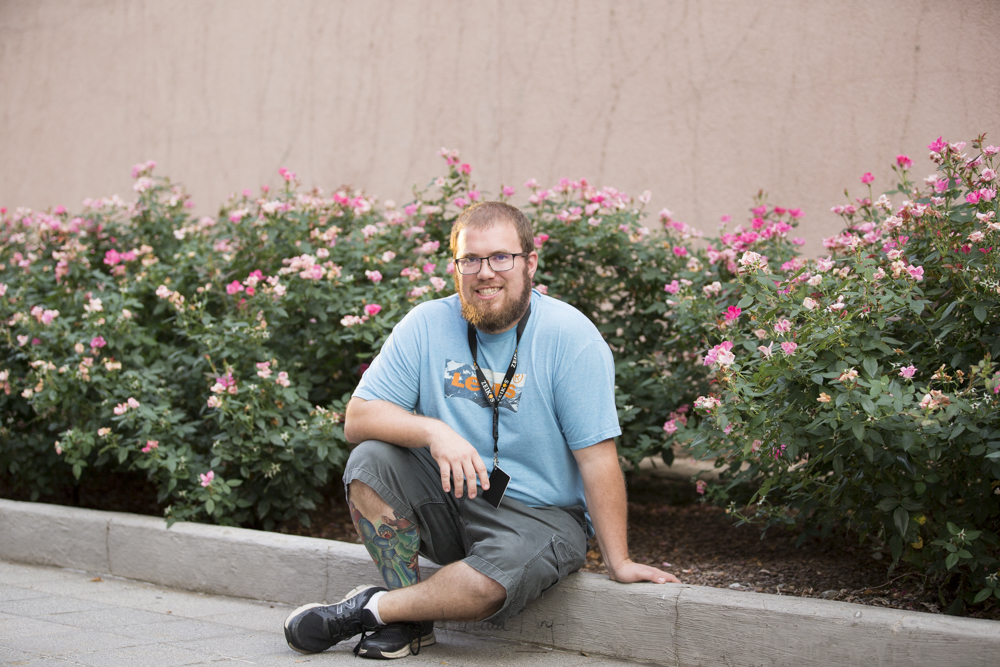
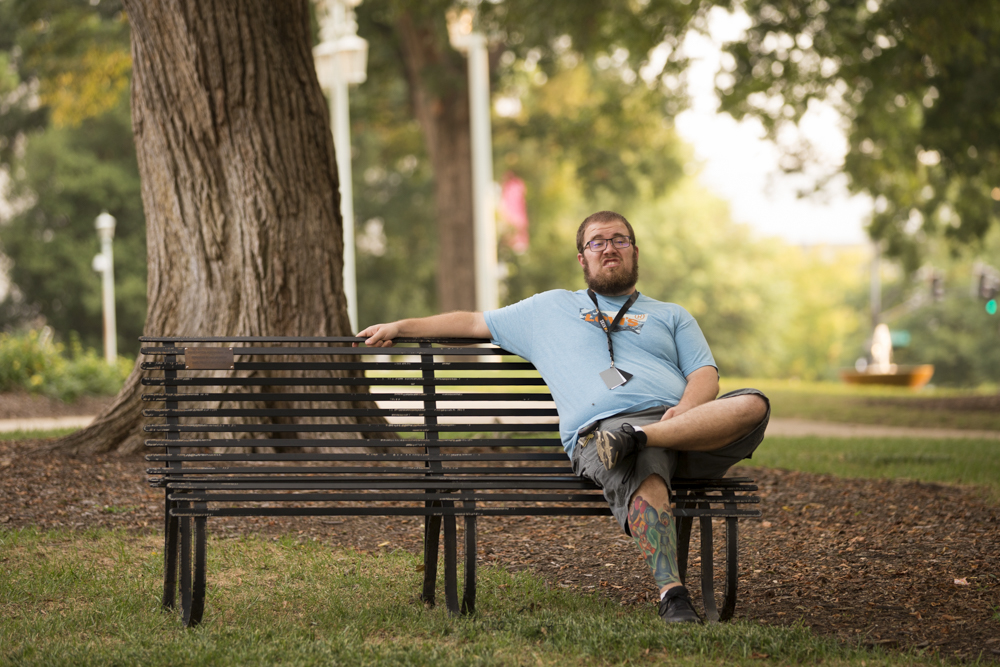
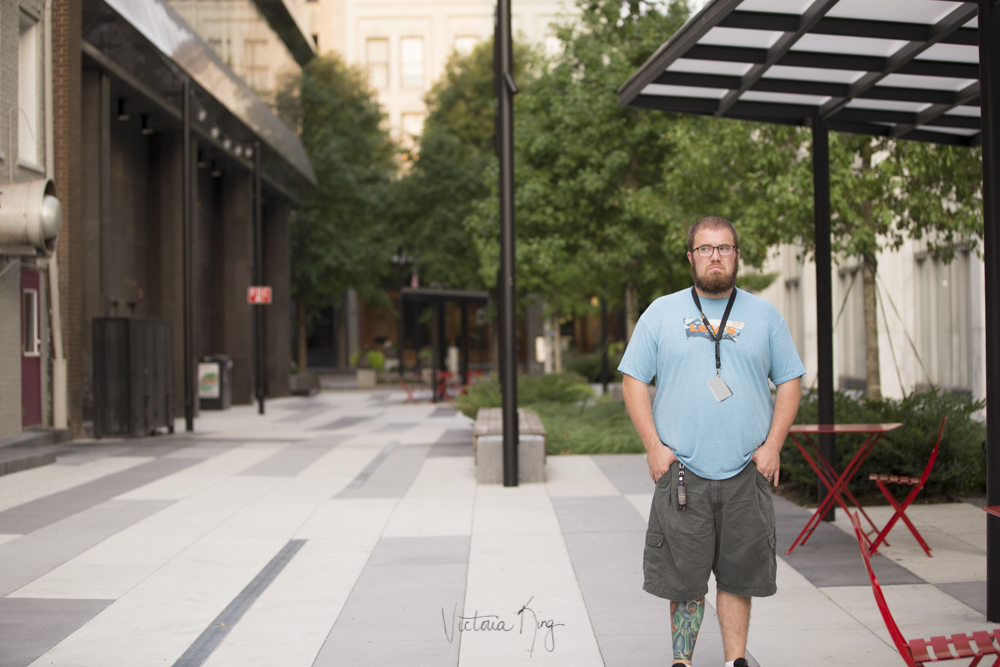
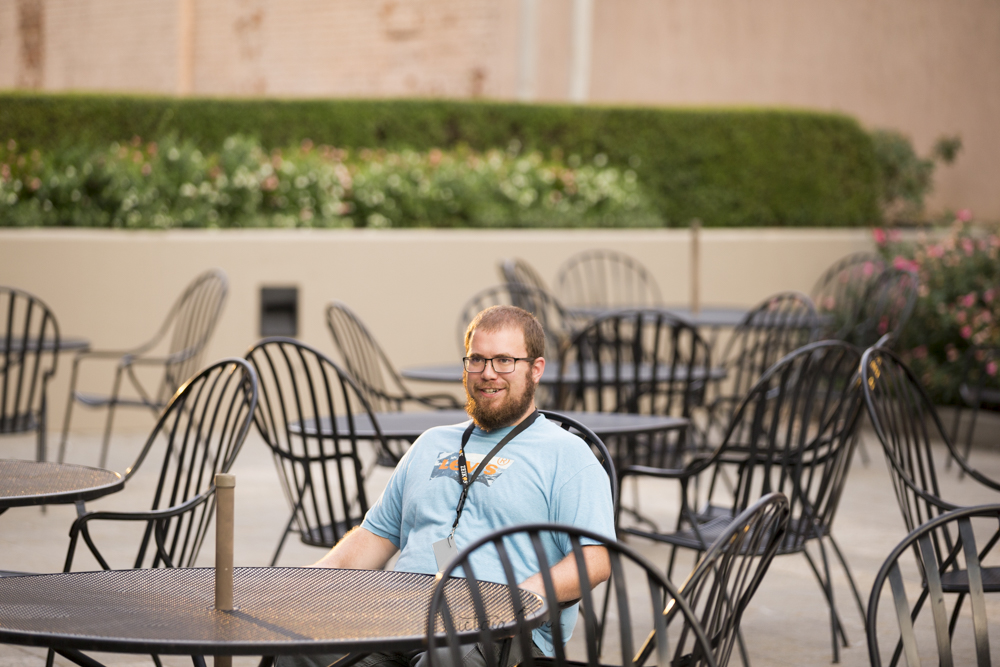
Let's turn me around. Now I'm facing the windows, or the main lighting source. I point on my eyes or bridge of my nose (in portraits, that is where you want to focus for best detail), and now the camera doesn't have to work so hard so your image quality isn't noisy. The subject is the main thing that's lit, and because I'm facing the window there's a catch light in my eyes. The catch light livens the face(s) of whoever you're photographing.

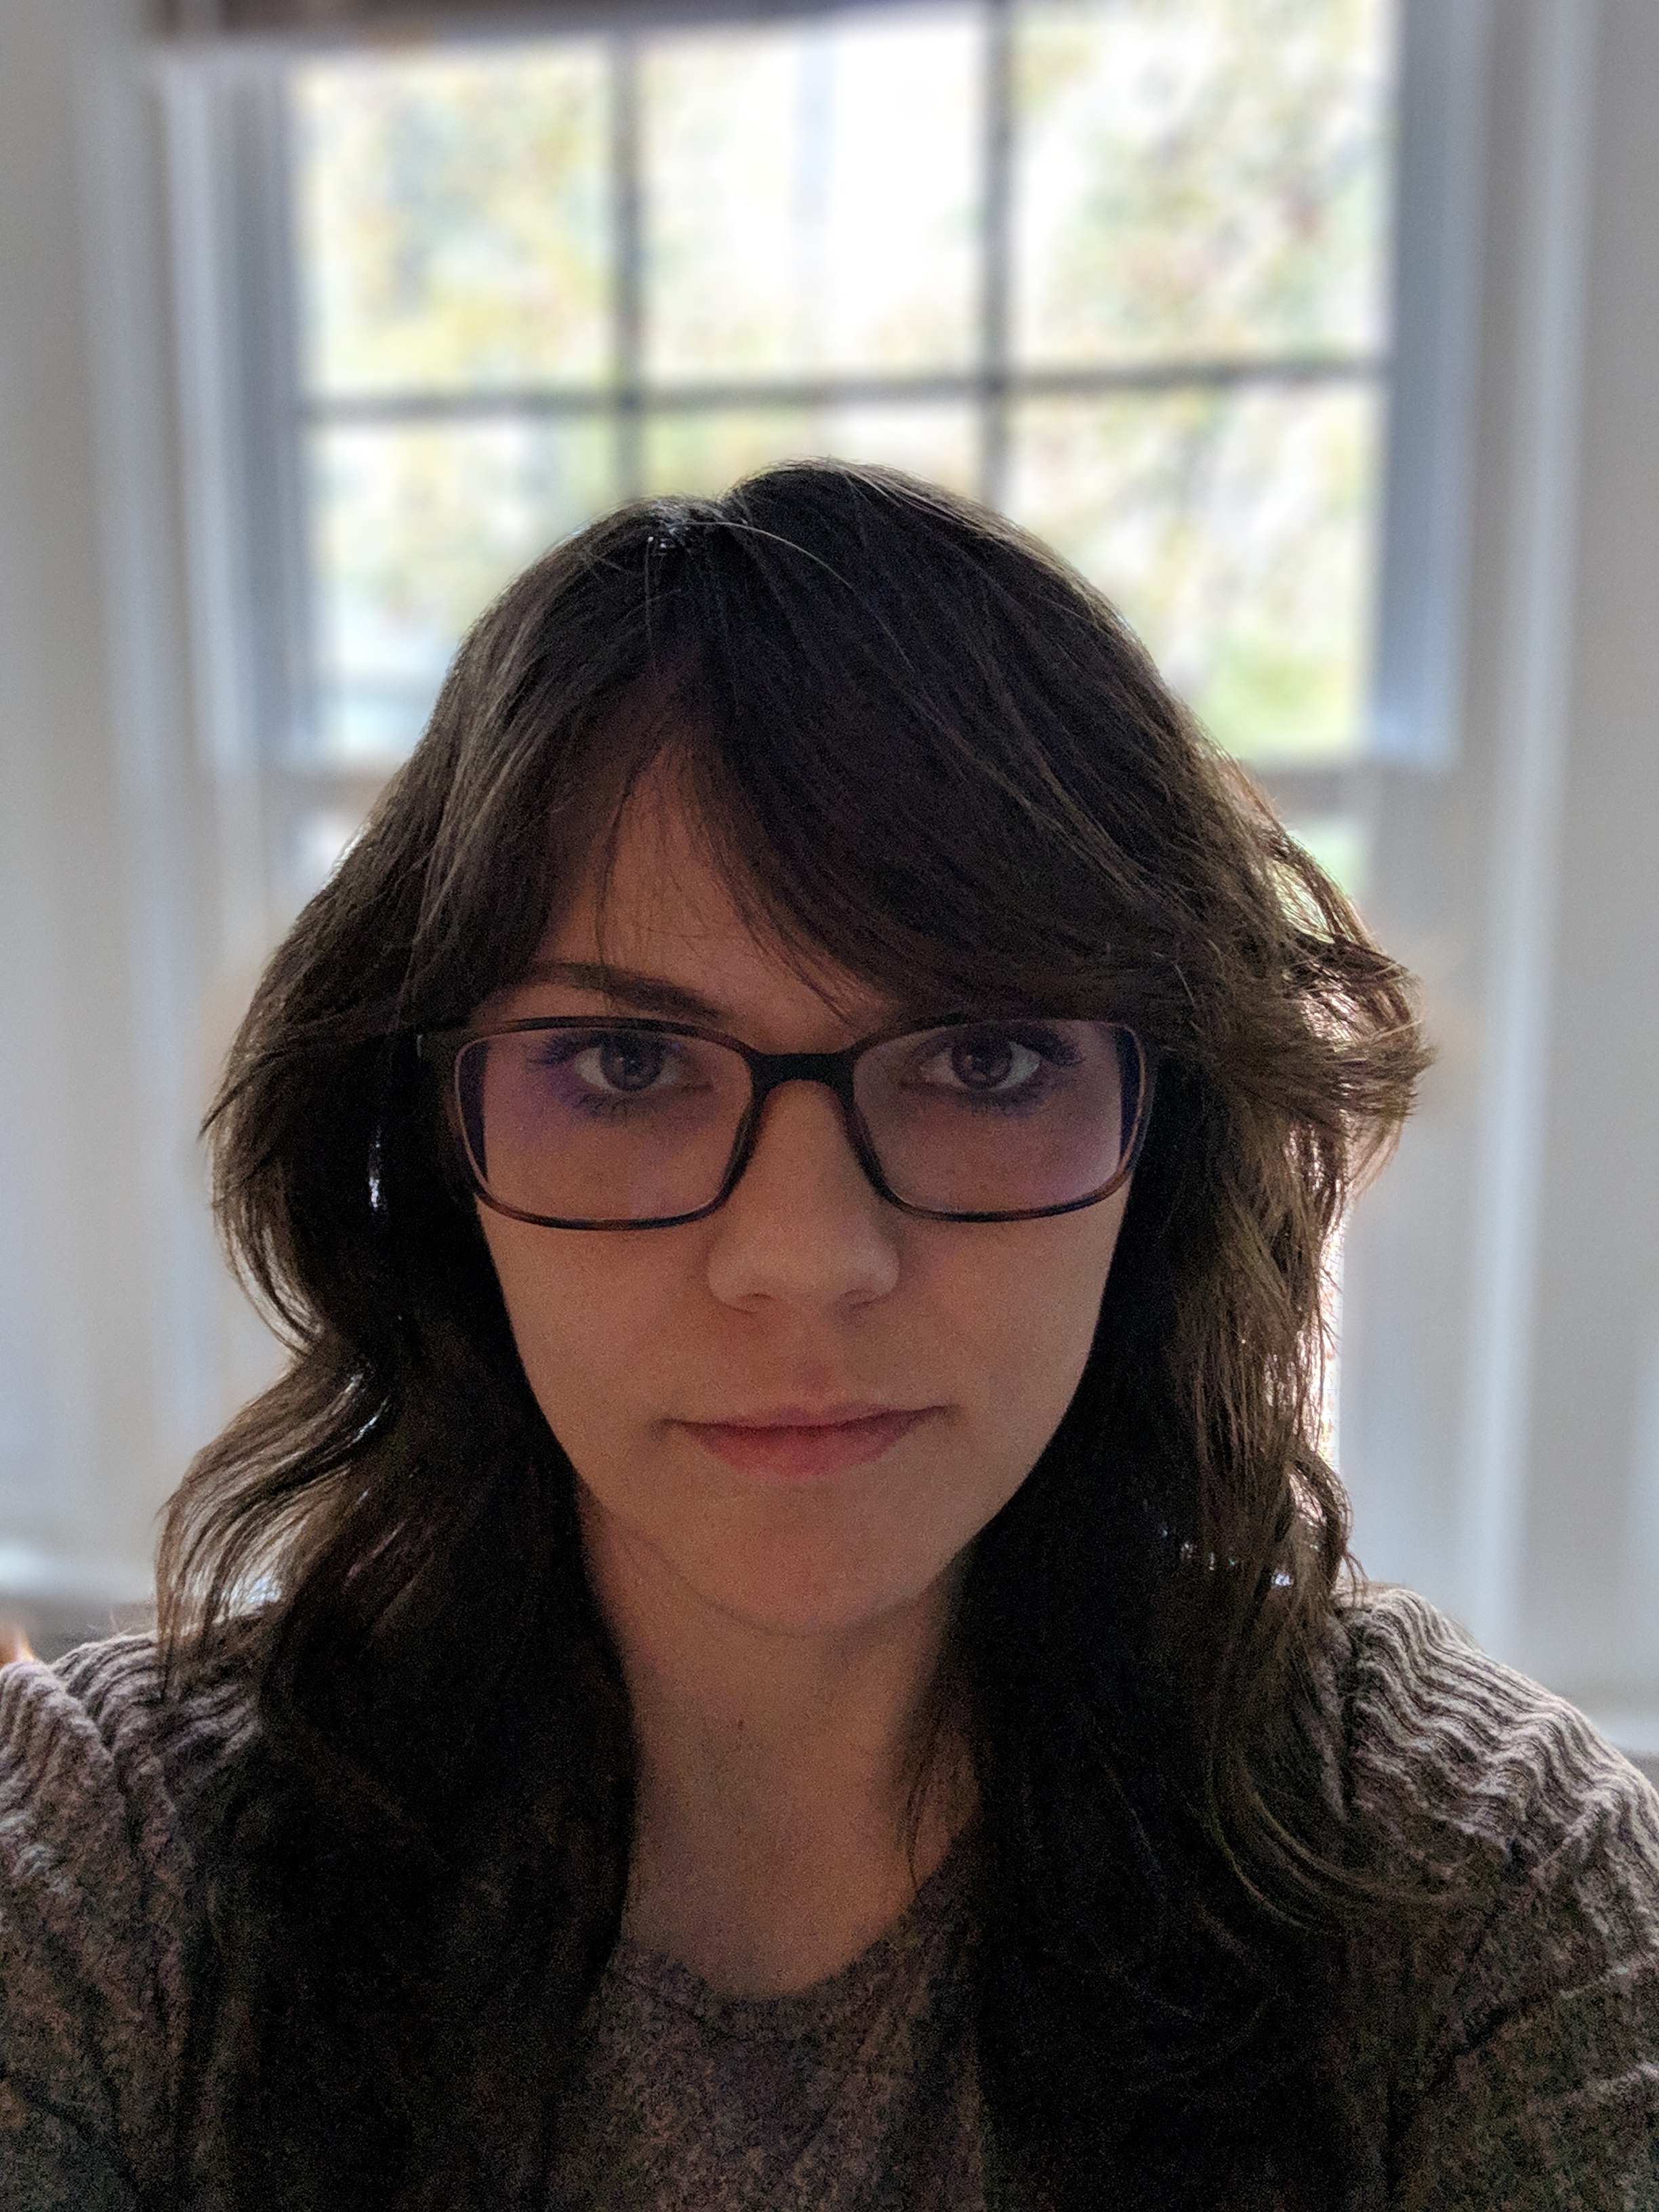
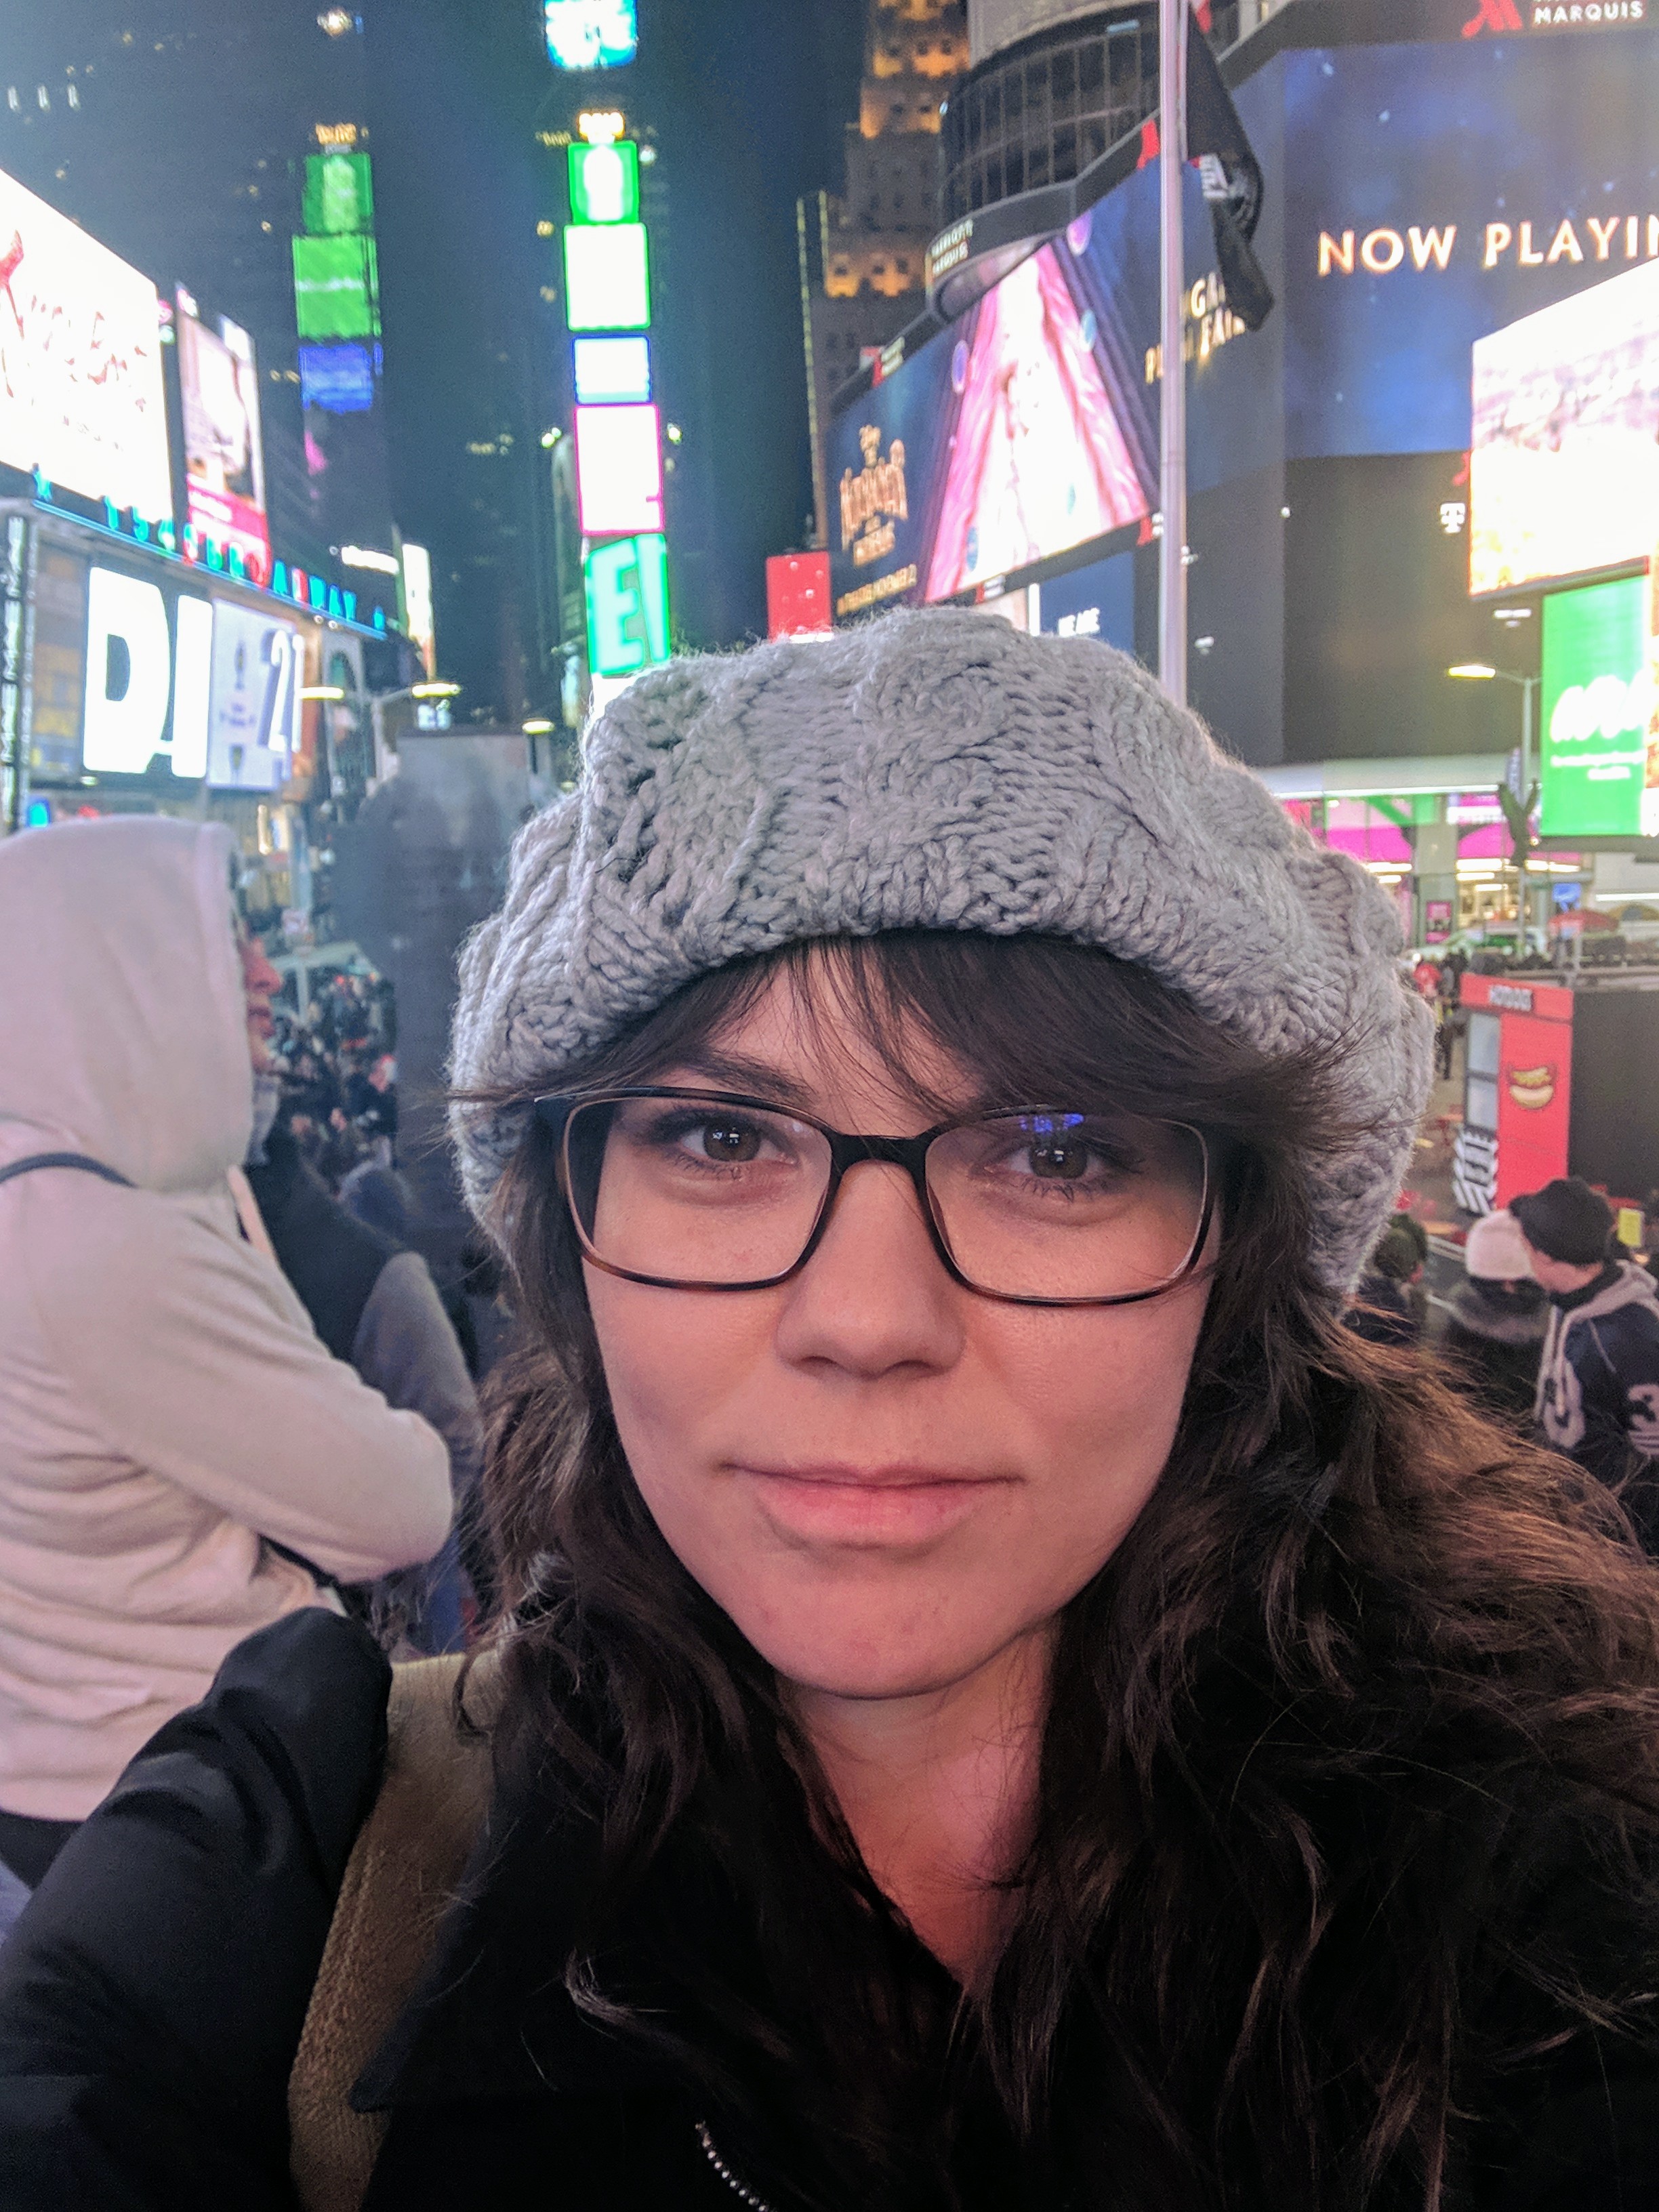
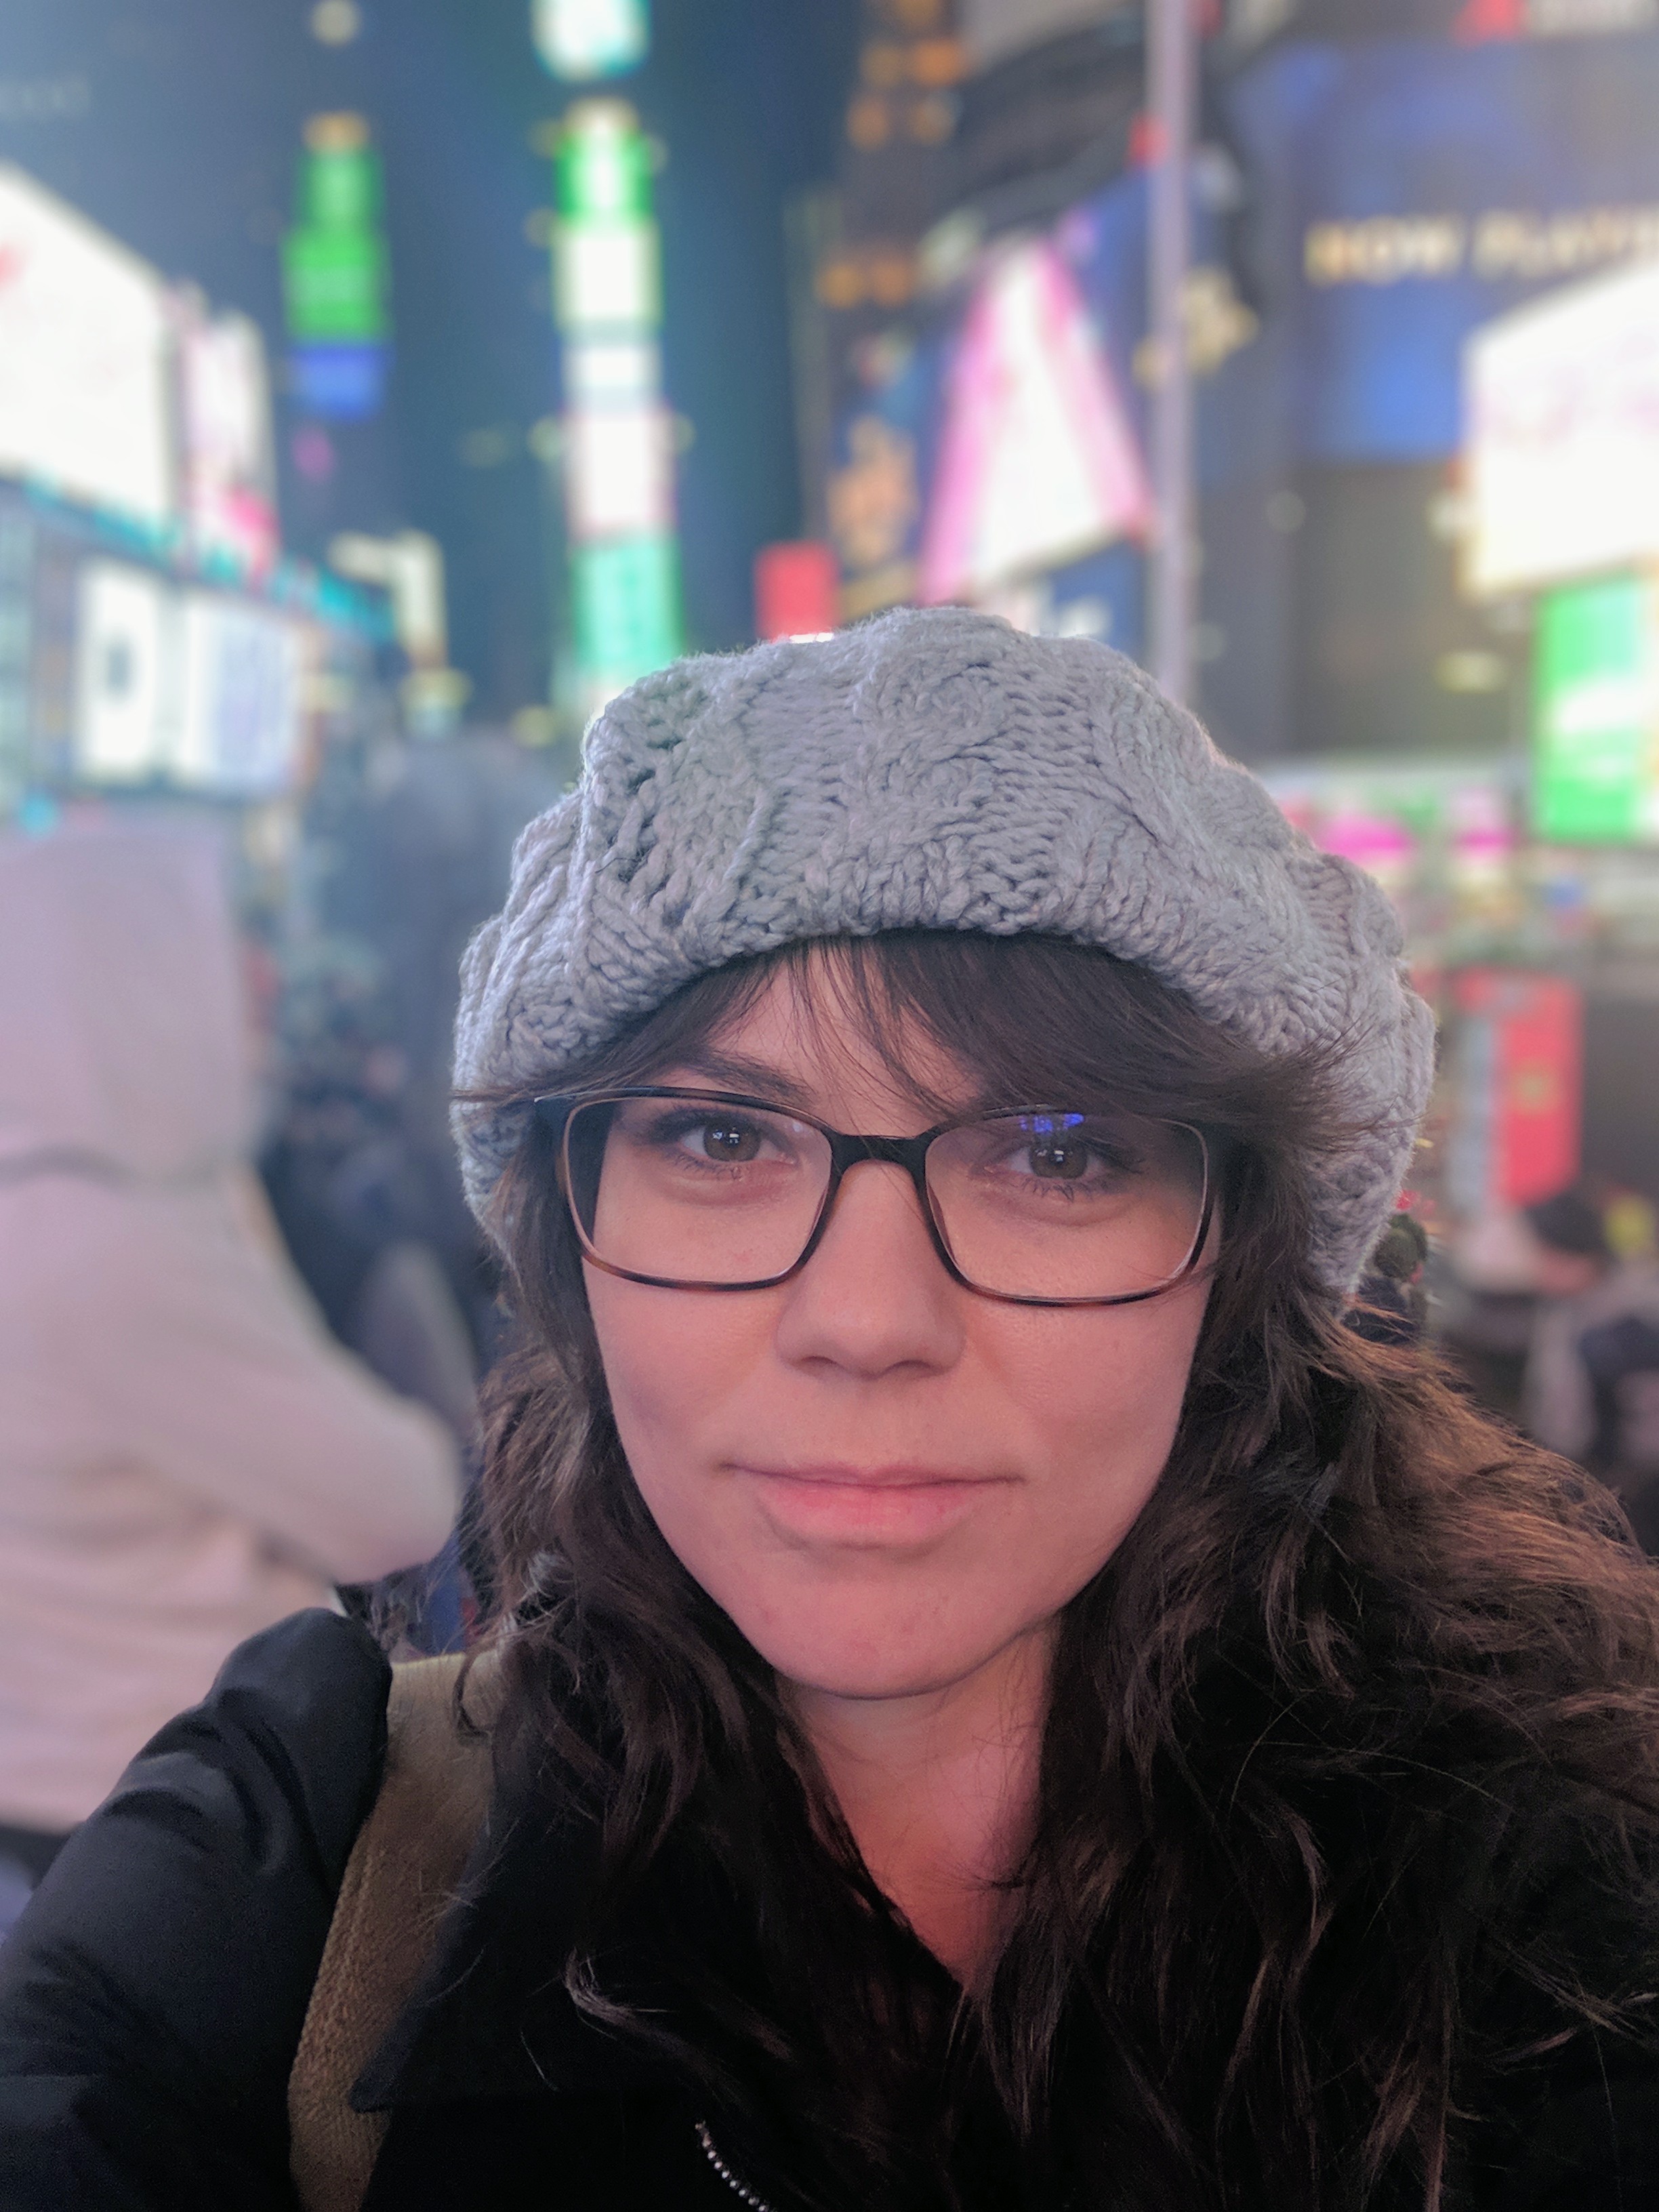
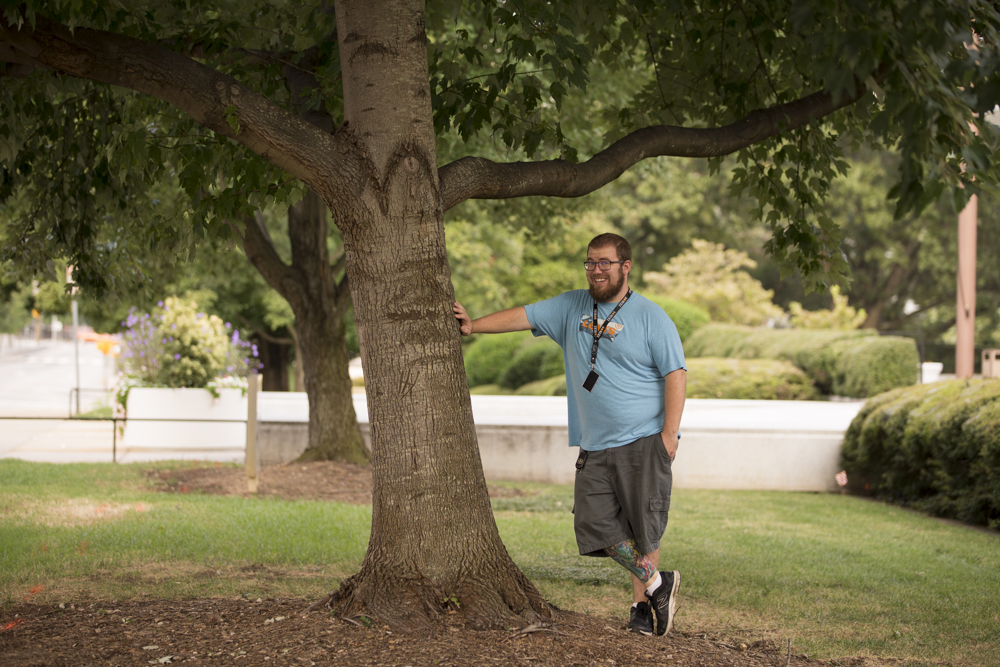
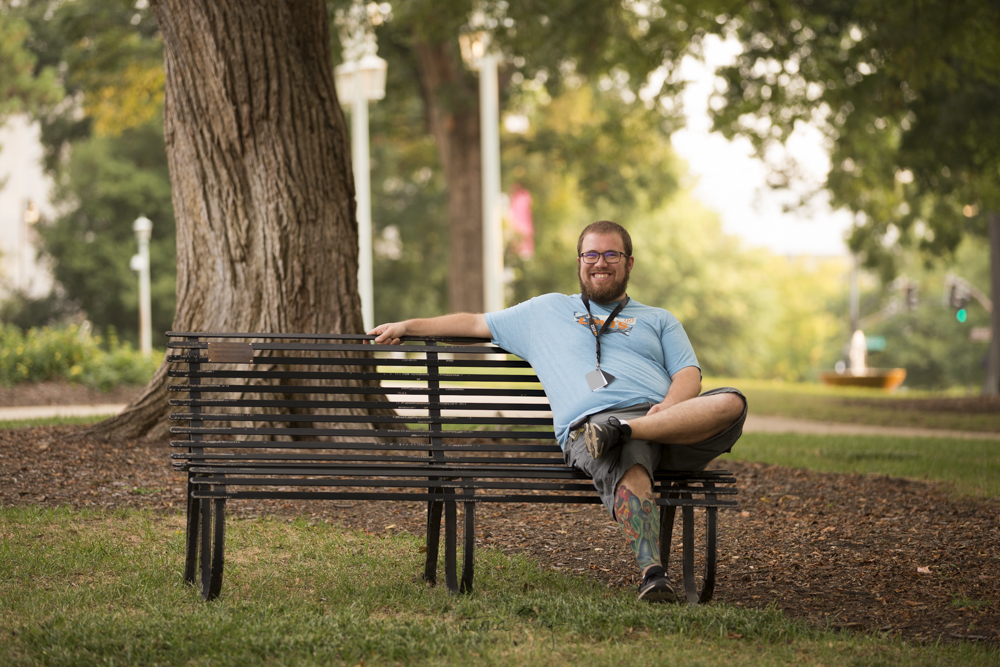
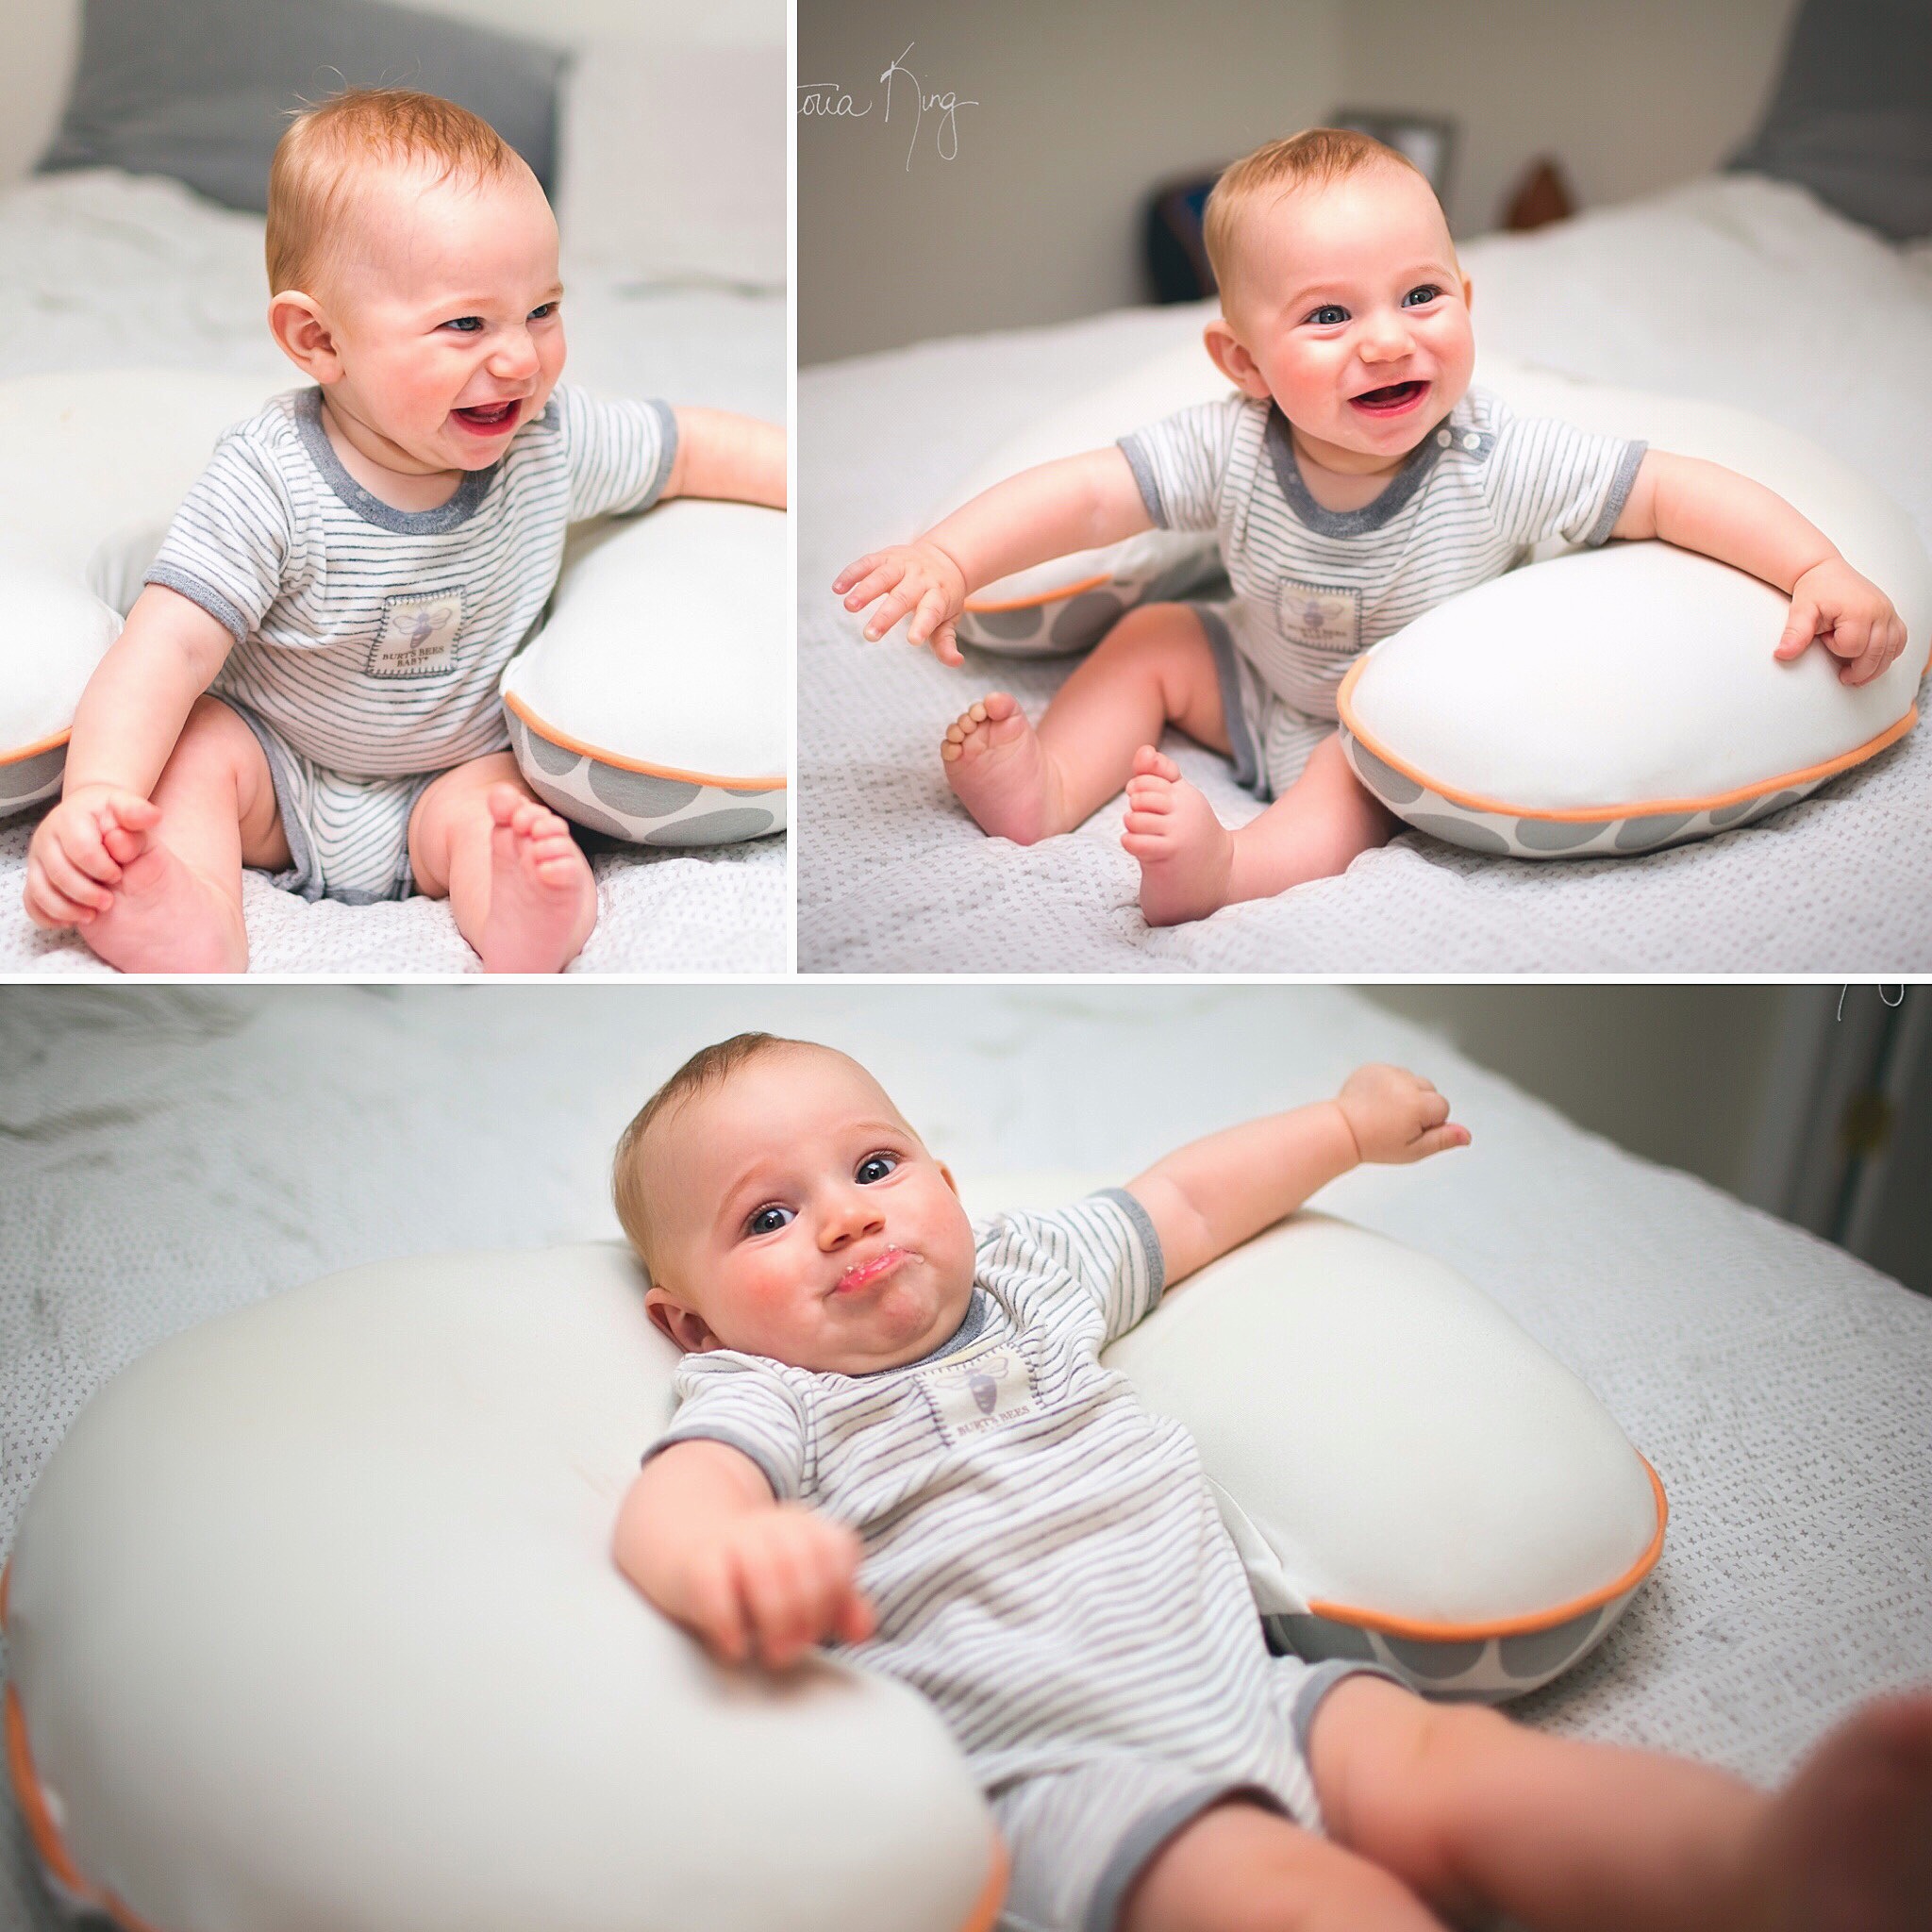
One more note on this: when taking portraits, there's a nifty portrait feature often built in to smart phone cameras. Go ahead and use that. In the android device I use, it gives me two images in the end--one with the background more blurred (the strength of which can be altered in editing afterward), and another with the original, sharp background.


Alright! Go out and try these suggestions for yourself and show me what you come up with! Let me know if you have any problems I may be able to help with and I'll send further suggestions if you need.

Walnut Creek Greenway, Raleigh

Walnut Creek Greenway extends about 15 miles. Beginning from East Raleigh, not far off Barwell Road, the trail moves westward, has a short disconnection in town near the water plant, passes through several tunnels, becomes an NCU walking trail just off campus, and runs into Johnson Lake. Once at Johnson Lake, there's a trail around the lake to loop back around, which is about 2 1/2 miles. I recommend taking it to the right from Walnut Creek trail because there are steep hills to come down that way, rather than go up, so it's more fun.

Location Research - Downtown Raleigh, Fayetteville/Capital District

There were a lot of homeless people sleeping at sunrise in downtown on Fayetteville St. Another issue would be the endless festivals each weekend on that street. There was a bit of nice light in pockets, but as far as the sun went, the buildings generally blocked it. The capital area is very pretty. These are unedited shots of my husband, he was a stand-in for research this morning. His expressions are perfect. What might be nice is Nash Square or Moore Square, but again, homeless people might be trying to sleep.

Late Afternoon Light

Thursday, September 8, 2016 These are from the daily photo project of my son--it will be complete on October 5th. :)

I'm looking for more people in the Raleigh/Durham/Chapel Hill area to photograph outdoors around sunrise and sunset. If you're interested, contact me here or call 678.516.4448

Double Exposures from North Carolina Botanical Gardens

So many baby images

The 366 project is still going at silasking.wordpress.com and he's seven months now, cutting two super sharp little teeth through his bottom gum. Here are a few more recent photos and instagrammed posts.

Otherwise, there is a 25% off Mother's Day sale for sessions and prints purchased within the month of May, and my Saturday's are open to shoot any graduation images, newborn, family portraiture, etc.,...even architectural photography--it all applies, man. :)

My 21st/22nd is booked up and there's also the Artsplosure festival in downtown Raleigh that I'm excited to visit at some point.